このサイトは https://support.rdm.nii.ac.jp/![]() へ移転しました。
へ移転しました。
ページ履歴
...
プロジェクトを作成する
...
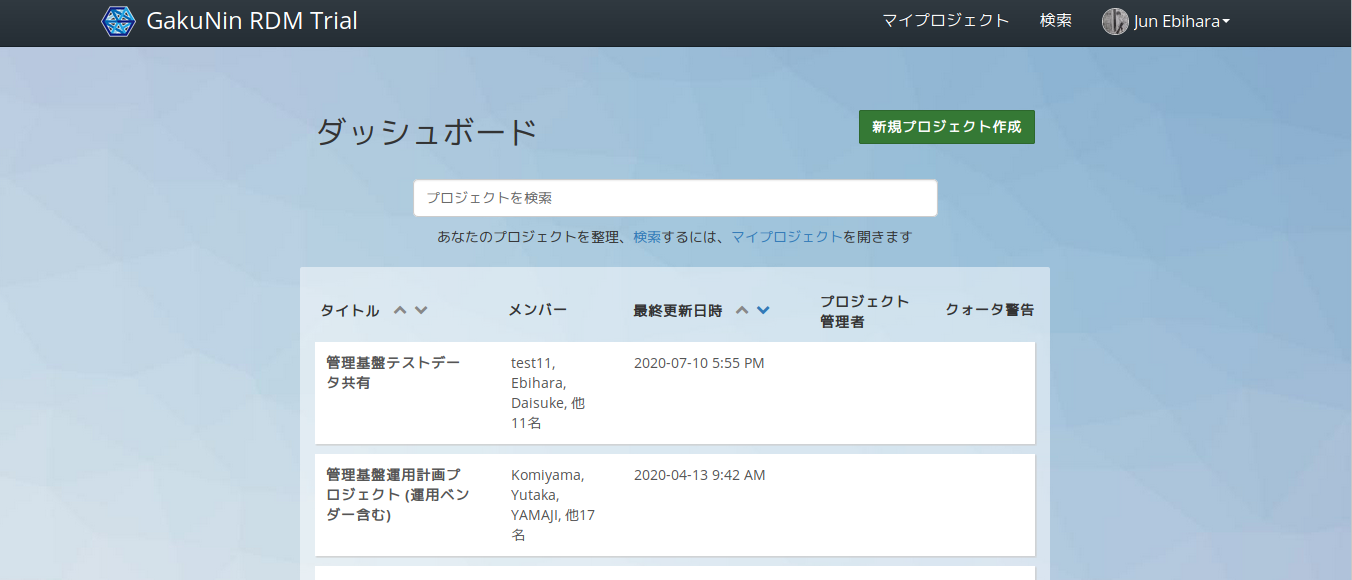
GakuNin RDMにサインインすると、ダッシュボードが表示されます。ダッシュボード右上の「新規プロジェクト作成」ボタンを押下すると、モーダルウィンドウ(子ウィンドウ)が現れます。
...
...
プロジェクト名と説明を設定する
...
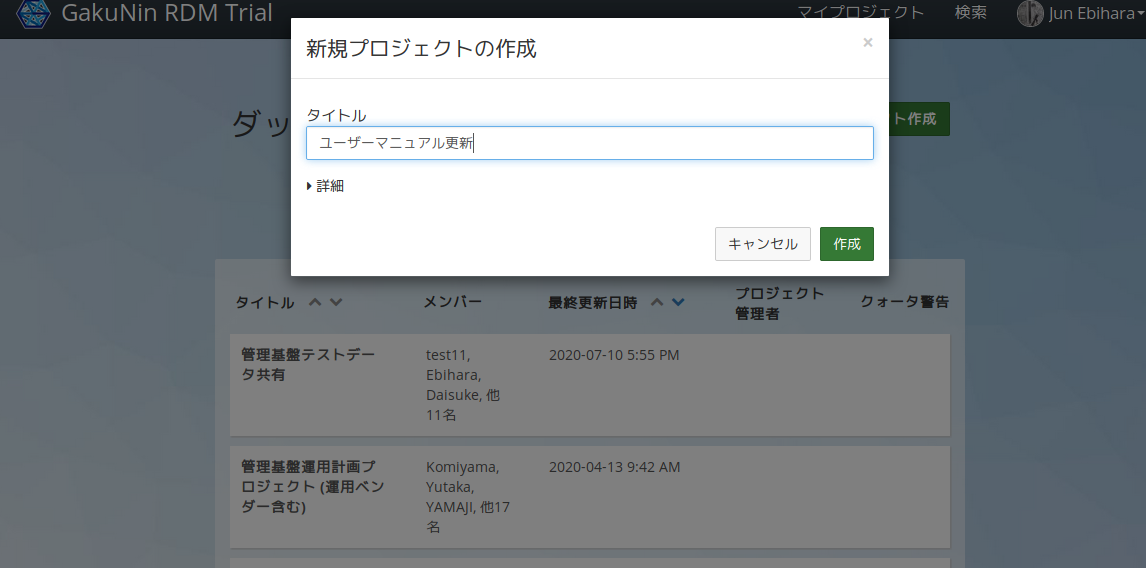
モーダルウィンドウ内の最初の入力欄にプロジェクト名を入力します。
...
プロジェクトの作成
Create an OSF project
First, sign in to OSF, and your dashboard will appear. Your dashboard lists all of your projects and components.
Click the Create new project button in the top right of your dashboard.
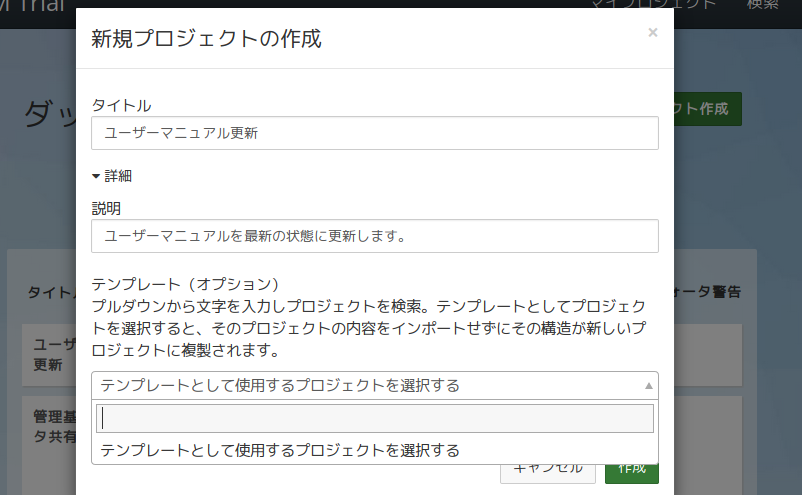
オプションで作成するプロジェクトについての説明を設定できます。「詳細」をクリックすると「説明」欄が現れます。タイトルと説明を設定したら、緑色の「作成」ボタンを押下します。
プロジェクトが作成されたこと確認するメッセージが表示されますので、緑の「プロジェクトへ移動」ボタンを押下してください。
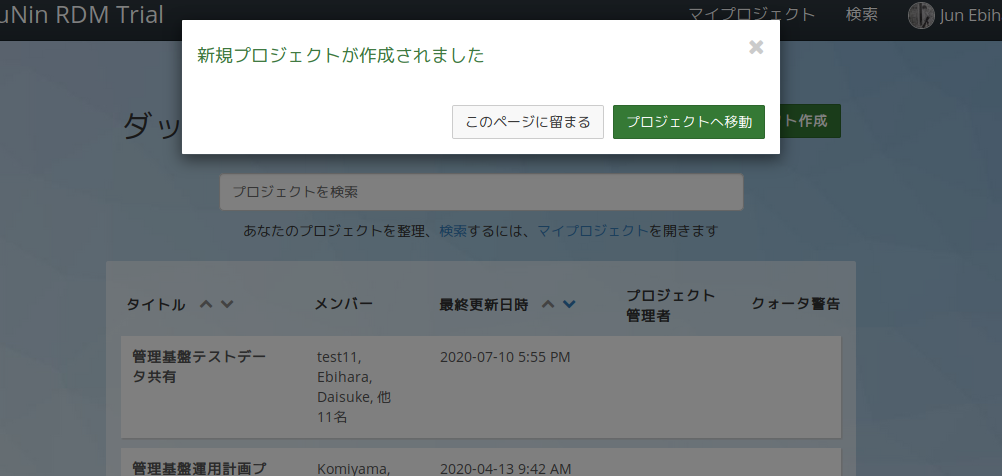
作成したプロジェクトのメイン画面へと移動します。
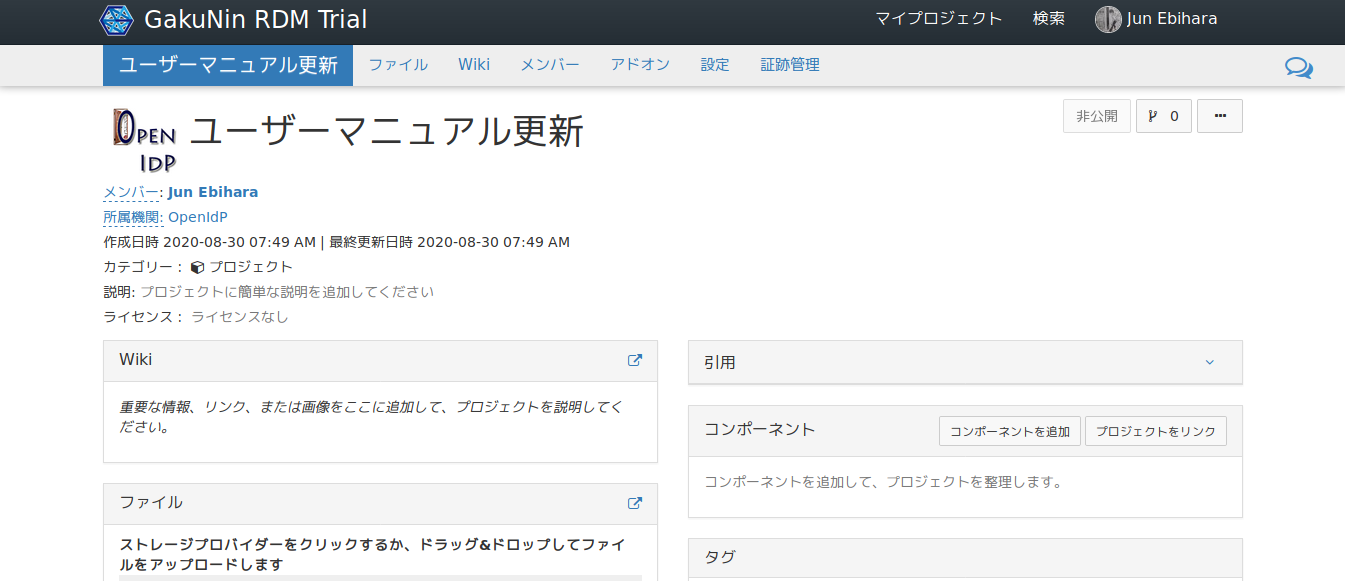
プロジェクト・メイン画面
プロジェクトのメイン画面からは、プロジェクトの説明表示や、Wikiの作成、ファイルアップロード、タグの追加などが可能です。
作成したプロジェクト配下には、コンポーネントと呼ばれるサブプロジェクトを作ることができます。
コンポーネントを使うとプロジェクトを階層的に作成/管理することができます。コンポーネントでは、プロジェクトと同じ機能を利用できます。
...
Name and describe your project
Enter a title for your project into the first field of the modal.
Your project will be affiliated with any and all listed institutions by default. Deselect a logo to disaffiliate your project. For more information on affiliated institutions, please see the OSF for Institutions help guides.
To add a short description of your project (optional), click More and type a description into the "Description" field that appears.
Then, click the green Create button.
A modal with a message confirming the creation of your project will appear.
Click the Go to new project button in the modal to navigate to your "Project Overview" page.
Your "Project Overview" page will appear.
...
Explore your "Project Overview" page
プロジェクトの削除
プロジェクト名称の変更(プロジェクト画面)
カテゴリーの登録(プロジェクト画面)
プロジェクト概要の登録(プロジェクト画面)
ライセンスの登録(プロジェクト画面)
概要
コンテンツ ツール