Revision History | |||
Rev. | Date (YYYY/MM/DD) | Description | Editor |
V.1.0 | 2015/4/1 | Sample edition | NII |
V.1.1 | 2016/12/26 | Amendment with addition of [NII Open Domain S/MIME CA] as a new Certificate Authority | NII |
V2.0 | 2018/2/26 | Supported environment update: Apple Mail 10 or later | NII |
Table of Content
1. Installing the S/MIME Certificate
1-1. Prerequisites
1-2. Install Procedure
2. Sending Digitally Signed E-mails
2-1. How to Send Digitally Signed E-mails
2-2. How to Confirm a Sent E-mail That Was Digitally Signed
3. Replacing the Expiring S/MIME Certificate with A New Valid One
3-1. Prerequisites
3-2. How to Install the Replacement
1. Installing the S/MIME Certificate
1-1. Prerequisites
The prerequisites for using the S/MIME Certificate in Apple Mail are described.
Replace the technical terms according to the user environment in which the S/MIME Certificate will be used.
(The procedures required for Apple Mail 11.2 on macOS 10.13.3 (High Sierra) are described in this document.)
Prerequisites |
|
1-2. Install Procedure
Installing the Certificate |
|
2. Sending Digitally Signed E-mails
2-1. How to Send Digitally Signed E-mails
How to Send Digitally Signed E-mails
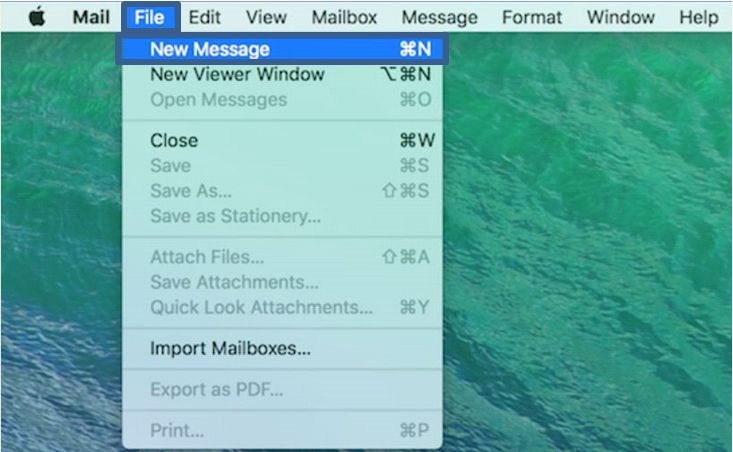
- Select [File] > [New Message].
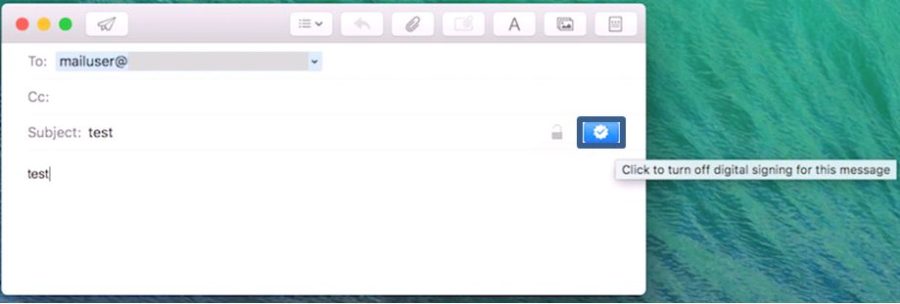
- In the new message screen, focus on the digital signature icon to make sure that the signature is enabled.
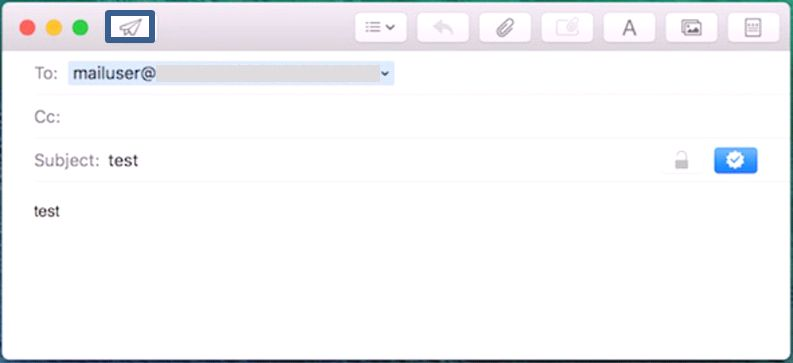
- Click the Send icon when the message is complete.
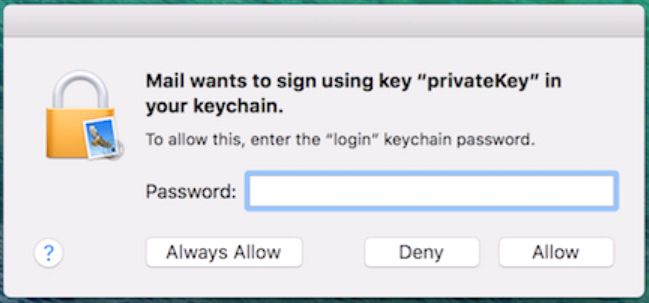
- If you get the password prompt for the keychain and the access permission, enter the password used for the certificate install and select [Allow].
Note: If [Always Allow] is selected, the keychain access prompt will not appear each time.
This completes sending digitally signed e-mails.
2-2. How to Confirm a Sent E-mail That Was Digitally Signed
How to Confirm a Sent E-mail That Was Digitally Signed
- Select a sent e-mail that was digitally signed from the [Sent] folder.
- Click on the [Signed] icon.
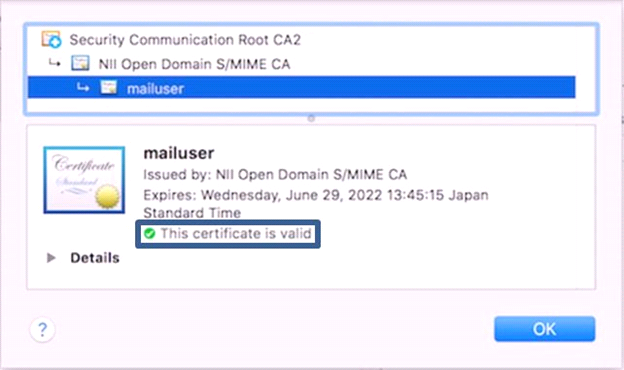
- Make sure that the certificate is marked as trusted, and click [OK].
This completes confirmation of a sent e-mail that was digitally signed.
3. Replacing the Expiring S/MIME Certificate with A New Valid One
The procedure to install an updated S/MIME is as follows.
3-1. Prerequisites
Replace the technical terms according to the user environment in which the S/MIME Certificate will be used.
(The procedures required for Apple Mail 11.2 on macOS 10.13.3 (High Sierra) are described in this document.)
Care must be fully used for a case that the S/MIME could be marked as expired (Note 1) even before the expiration unless this installation is performed.
Note 1: When a digitally signed e-mail is received by other MUAs than the Mac mail.app,
it is known that the e-mail sent on the day before the certificate expiry could be marked as expired unexpectedly in some cases.
Prerequisites |
|
3-2. How to Install the Replacement
Procedure to Replace the Expiring Certificate
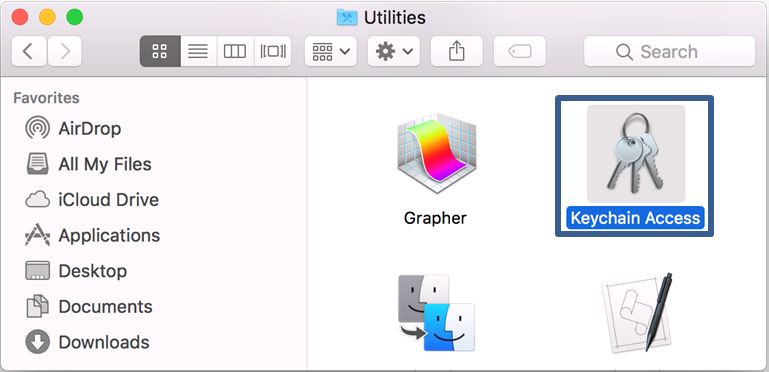
- Select [Keychain Access] in the [Utilities] pane.
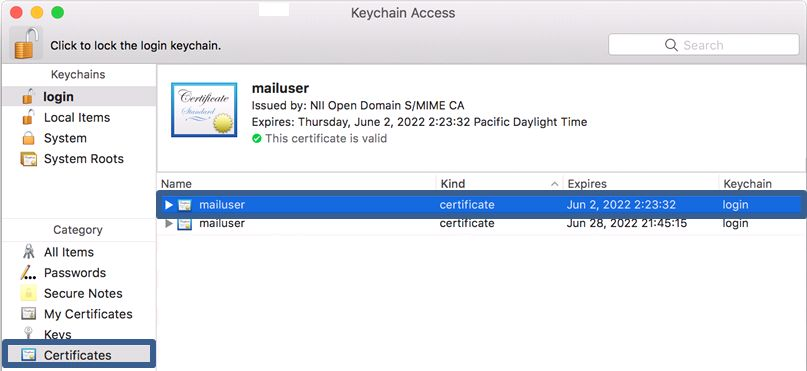
- In the Keychain Access screen, select the old, expiring but currently used S/MIME Certificate from the certificate list, and press the [Delete] key on the keyboard.
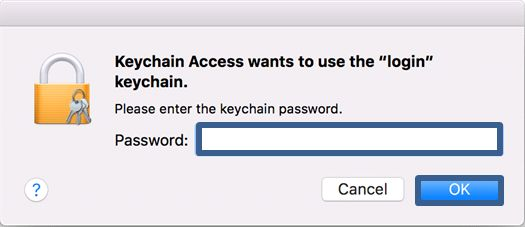
Note: Be sure to carefully check expirations before deleting so as not to select a new, updated S/MIME by mistake. - Enter the keychain password and click [OK].
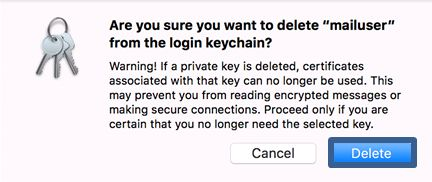
- Reconfirm that you want to delete the old, expiring S/MIME Certificate, and click [Delete].
This completes replacing the expiring S/MIME Certificate with a new valid one.
