Revision History | |||
Rev. | Date (YYYY/MM/DD) | Description | Editor |
V.1.0 | 2015/4/1 | First revision | NII |
V.1.1 | 2016/12/26 | Amendment with addition of [NII Open Domain S/MIME CA] as a new Certificate Authority | NII |
V2.0 | 2018/2/26 | Supported environment update: Outlook 2013 or later | NII |
Table of Content
1. Installing the S/MIME Certificate
1-1. Operating Environment
1-2. Prerequisites
1-3. Install Procedure
2. Sending Digitally Signed E-mails
2-1. How to Send Digitally Signed E-mails
2-2. How to Confirm a Sent E-mail That Was Digitally Signed
1. Installing the S/MIME Certificate
1-1. Operating Environment
The procedures only in the following environment are described in this document:
Supported environment: |
Microsoft Office Outlook 2013 or later |
1-2. Prerequisites
The prerequisites for using the S/MIME Certificate in Microsoft Office Outlook are described.
Replace the technical terms according to the user environment in which the S/MIME Certificate will be used. (The procedures required for Microsoft Office Outlook 2013 are described in this document.)
Prerequisites |
|
1-3. Install Procedure
Installing the Certificate
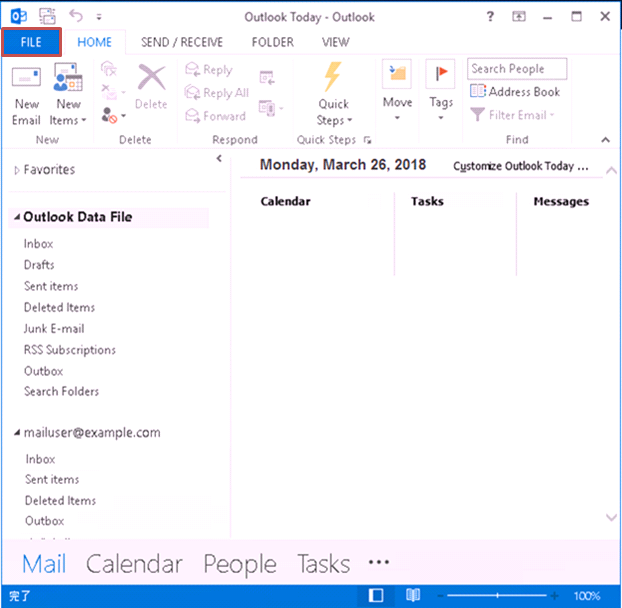
- Open Microsoft Office Outlook and click on the [File] tab.
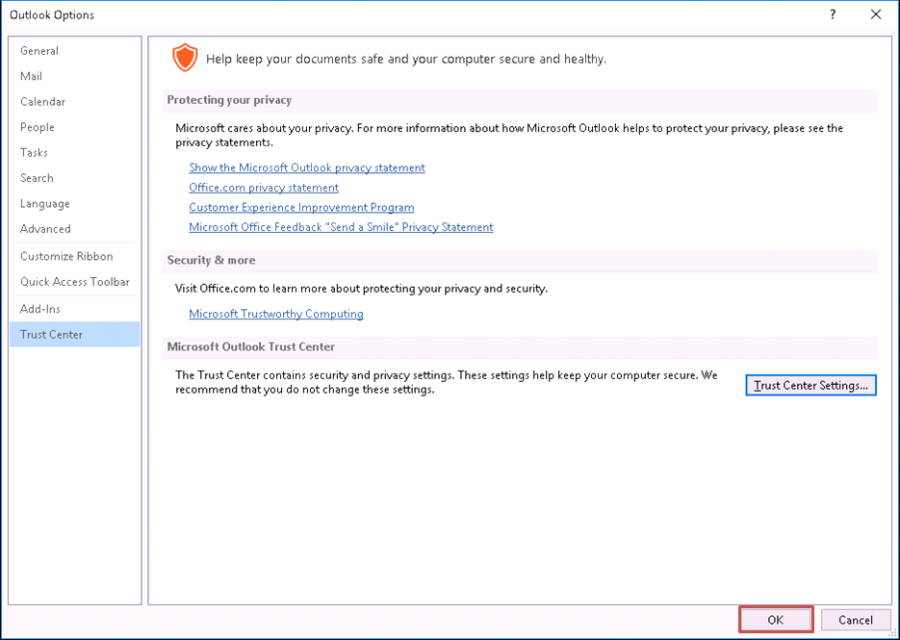
- Click [Options] in the menu list on the left side of the [Account Information] screen.
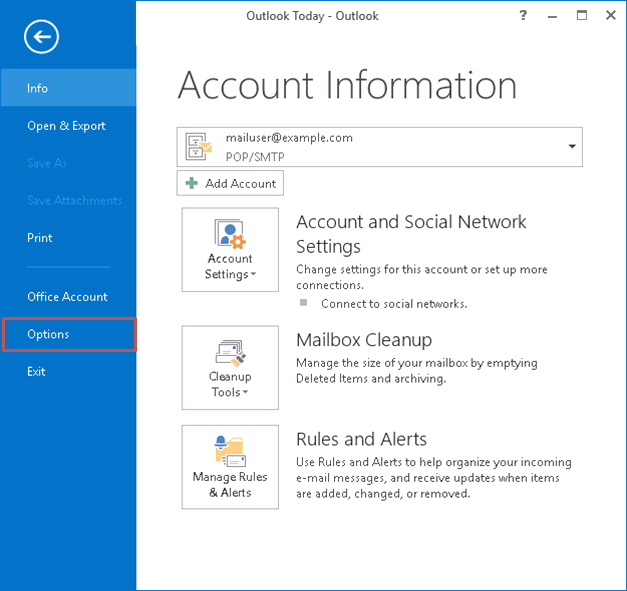
- In the [Outlook Options] dialog box, select [Trust Center] in the list of options on the left side of the dialog box and then click [Trust Center Settings...].

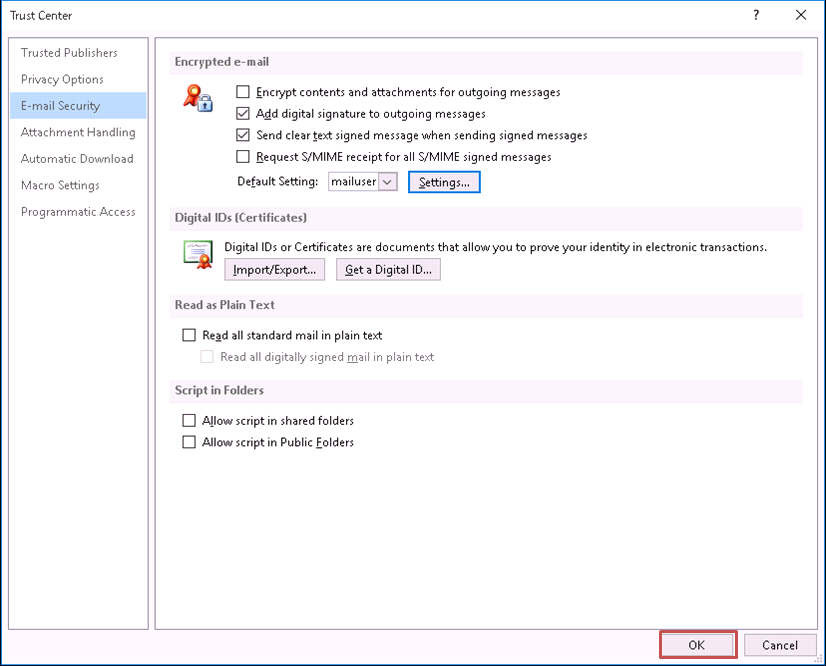
- In the [Trust Center] dialog box, select [E-mail Security] in the list of options on the left side.
Check the [Add digital signature to outgoing messages (D)] and [Send clear text signed message when sending signed messages (T)] checkboxes and click [Settings...(S)].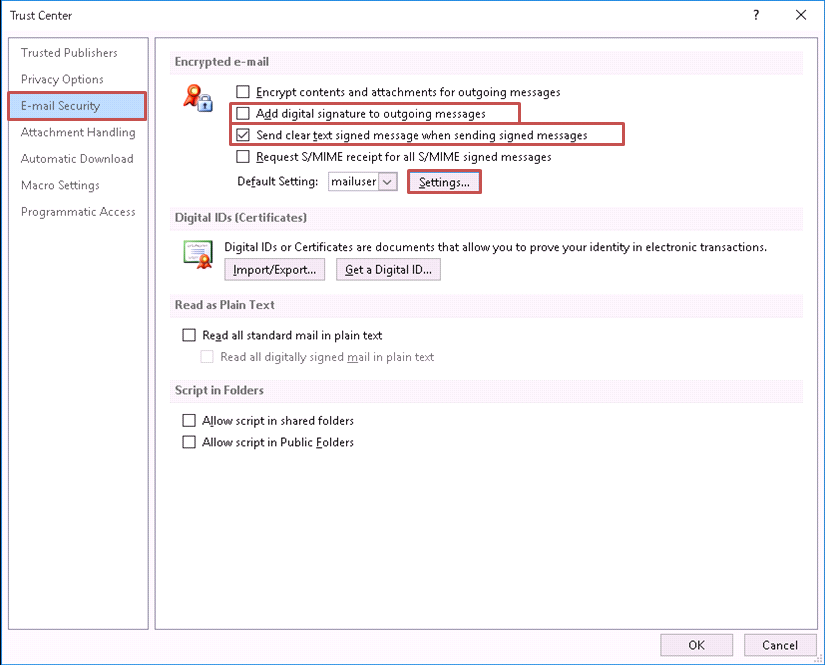
- The [Change Security Settings] dialog box will appear. Enter any string in the [Security Settings Name:] box.
Check both [Default Security Setting for this cryptographic message format (T)] and [Default Security Setting for all cryptographic messages (M)] checkboxes,
and then click [Choose...(C)] for the [Signing Certificate].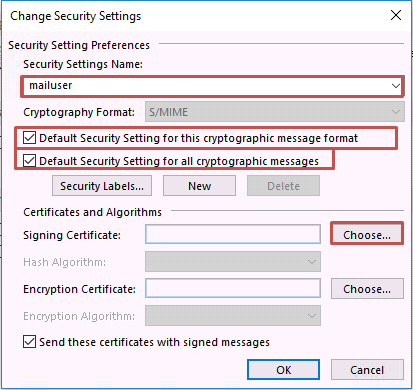
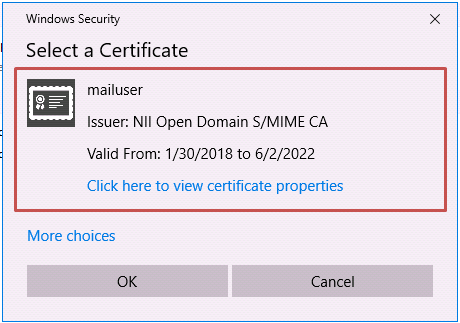
- In the [Windows Security] dialog box, select the S/MIME Certificate and click [OK].
- Select [SHA256] from the [Hash Algorithm (A):] drop down list and [3DES] from the [Encryption Algorithm (L):] drop down list. Check the [Send these certificates with signed messages (E)] checkbox and click [OK].
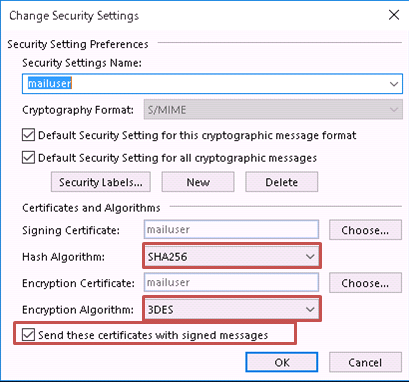
Note: Select a relevant Hash Algorithm for the user environment. - Click [OK].
- Click [OK].
This completes the S/MIME Certificate installation.
2. Sending Digitally Signed E-mails
2-1. How to Send Digitally Signed E-mails
How to Send Digitally Signed E-mails
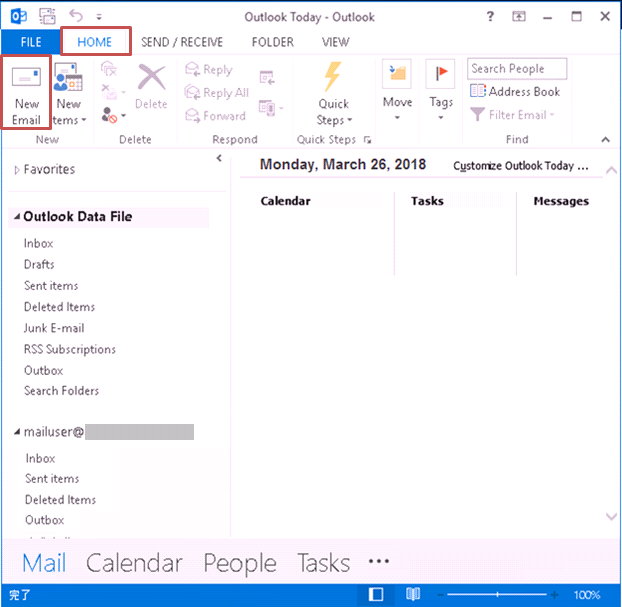
- Click on the [HOME] tab and then [New Email].
- The [MESSAGE] tab screen will appear. Select [OPTIONS] tab to confirm that the [Sign] button is active, and then create the new message as usual. Click [Send (S)] when finished.
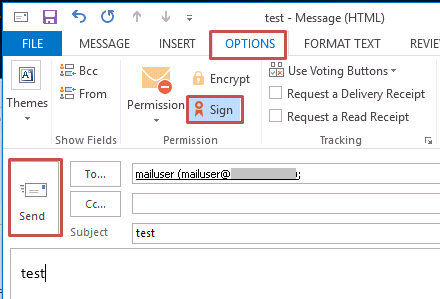
Note: If you do not use the digital signature, click the [Sign] button to deactivate the signature and then click [Send (S)].
This completes sending digitally signed e-mails.
2-2. How to Confirm a Sent E-mail That Was Digitally Signed
How to Confirm a Sent E-mail That Was Digitally Signed
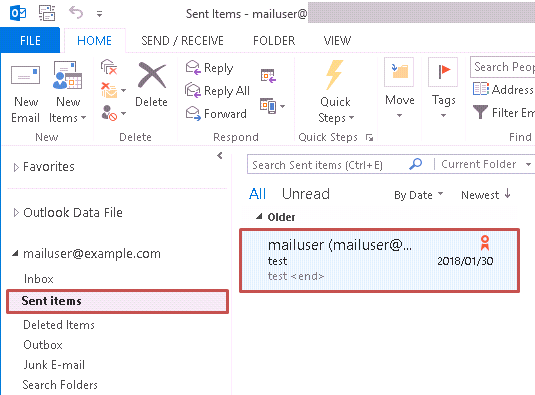
- Select a sent e-mail that was digitally signed from the [Sent Items].
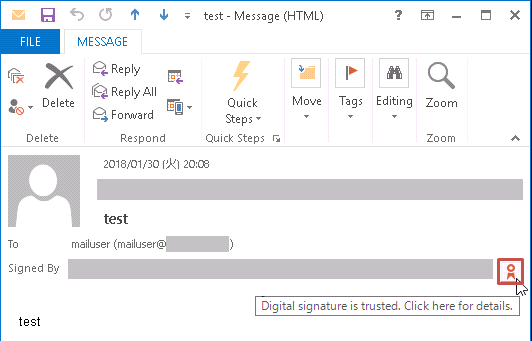
- Click on the small red [ribbon] icon.
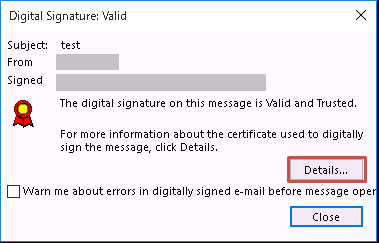
- In the resulting [Digital Signature] dialog box, click [Details...(D)]
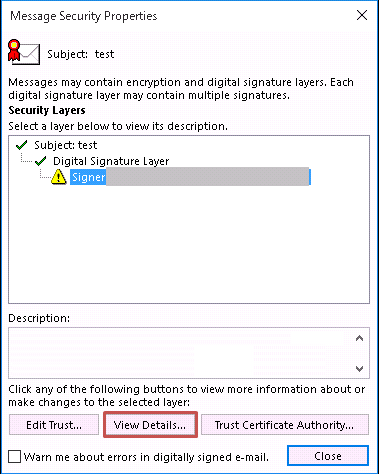
- The [Message Security Properties] dialog box will appear. Click [View Details...(V)].
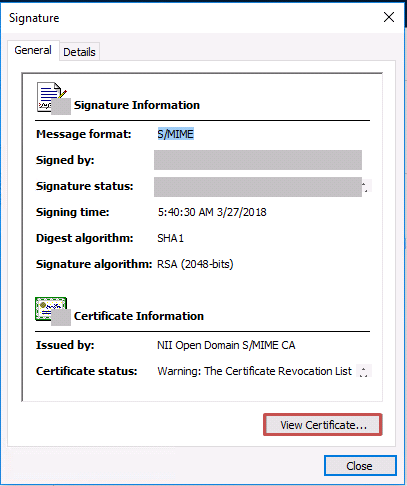
- Select the [General] tab and click [View Certificate...(V)].
- Select the [Certificate Path] tab to make sure that the [Certificate status (S)] gives "This certificate is OK."
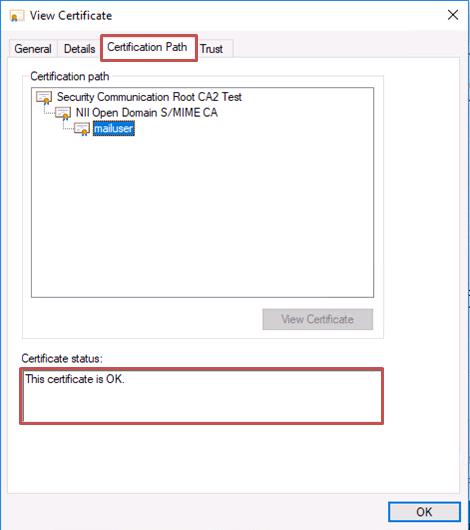
This completes confirmation of a sent e-mail that was digitally signed.