このサイトは https://support.rdm.nii.ac.jp/![]() へ移転しました。
へ移転しました。
ページ履歴
You can manage the folders you added to a project.
By clicking ‘Files’ in Click 'File' on the navigation bar on a project’s main screen, it will take you of the project's main screen to move to the file management screen.
On the 
The file management screen , shows the storages storage mounted on the project will be displayed.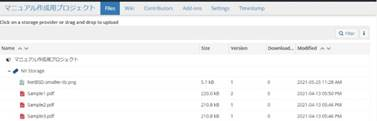
Creating a Folder
Select the storage on which you would like wish to work operate (e.g. NII Storage).
By clicking a storage name, a toolbar will appear.

By holding down the ‘Create Folder’ button in Click the storage name to bring up the toolbar.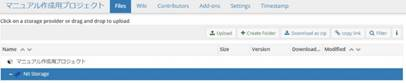
The toolbar allows you to upload files, create new folders and download as ZIP.
![]()
When you click the 'Create Folder' button on the toolbar, an entry input field will appear.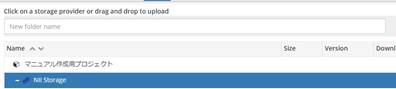
Enter a the folder name in the 'New folder name, ' field and either press click the enter Enter key or hold down ‘+’; then, '+' to create a new folder will be created.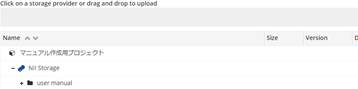
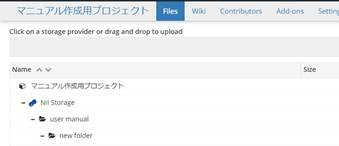
Moving a Folder
Drag - and - drop the folder you wish to move into to the destination folder.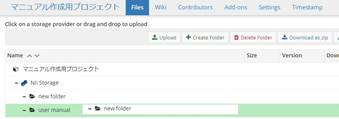
Deleting a Folder
Select the folder you wish to delete , and hold down the ‘Delete Folder’ button in the toolbar; then, the modal window for confirmation will appear.By holding down the red ‘Delete’ click the 'Delete Folder' button on the toolbar to display the confirmation modal window.

When you click the red 'Delete' button, the folder will be deleted. Please be aware note that the folders can not be recovered once deleted.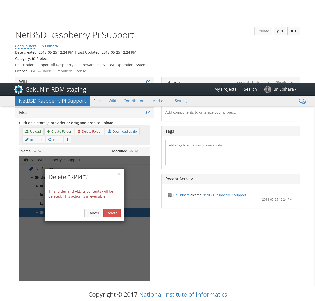 the subfolders in the folder will also be deleted, and the deleted folder cannot be restored.
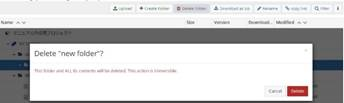
概要
コンテンツ ツール