このサイトは https://support.rdm.nii.ac.jp/![]() へ移転しました。
へ移転しました。
ページ履歴
Creating a Project
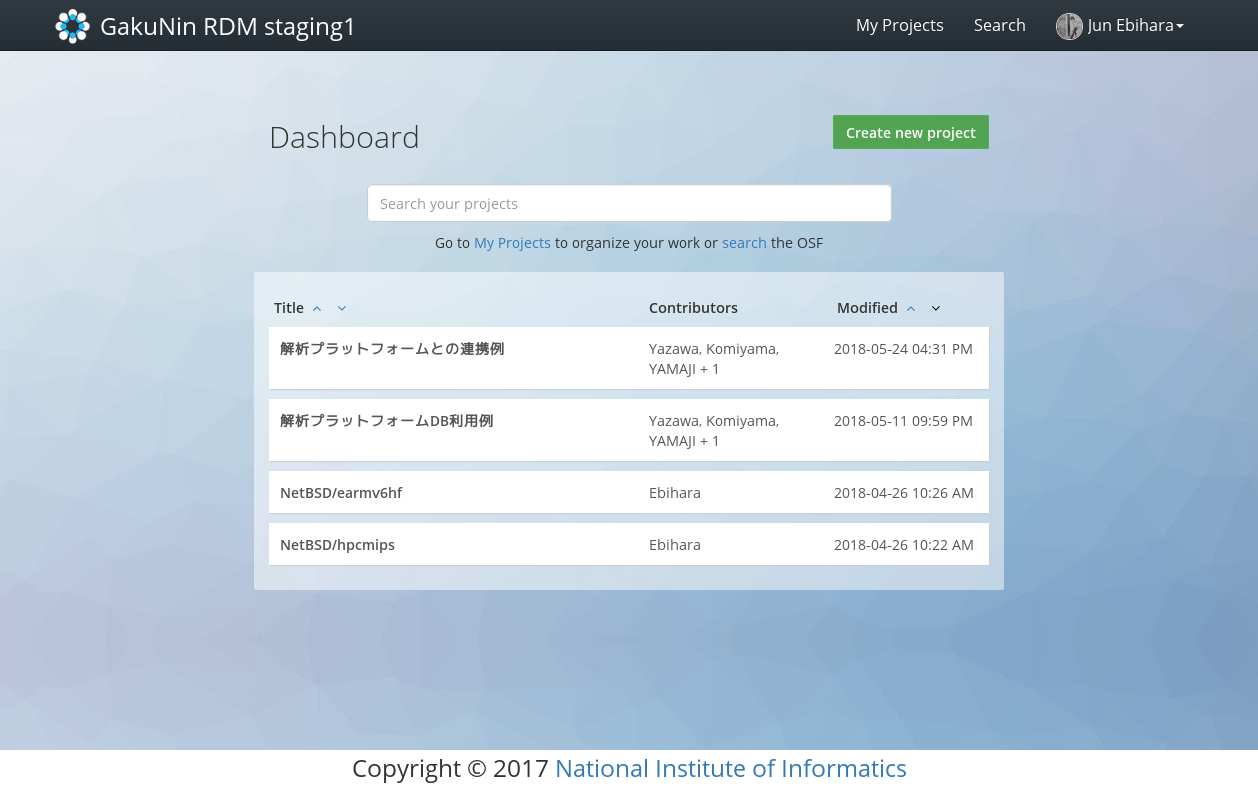
When you sign - in to GakuNin RDM, a dashboard will appear. On the dashboard, it displays the projects and components that have been created to date.By holding down ‘Create new project’ button in the upper right corner you will see the dashboard. When you hold down the 'Create new project' button on the upper right of the dashboard, a modal window (child window) will appear.
プロジェクト名と概要を設定する
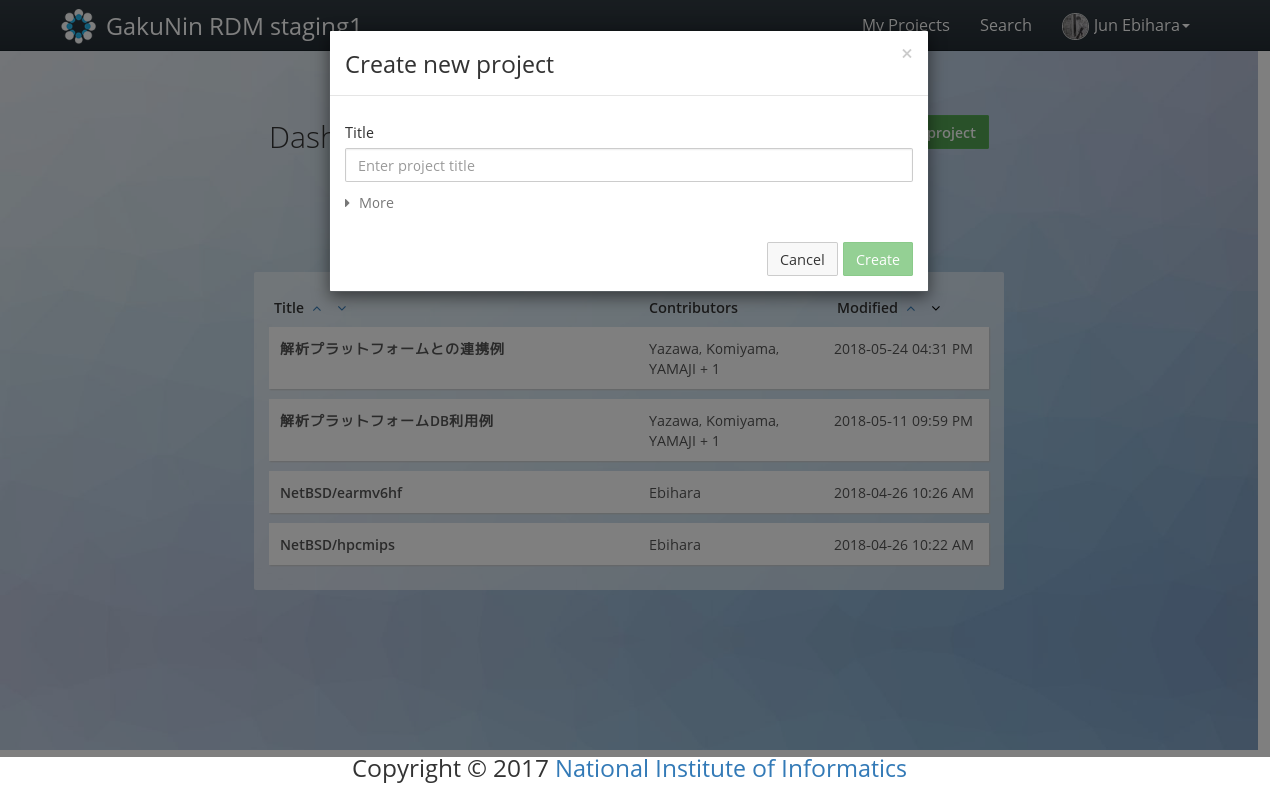
モーダルウィンドウ内の最初の入力欄にプロジェクト名を入力します。
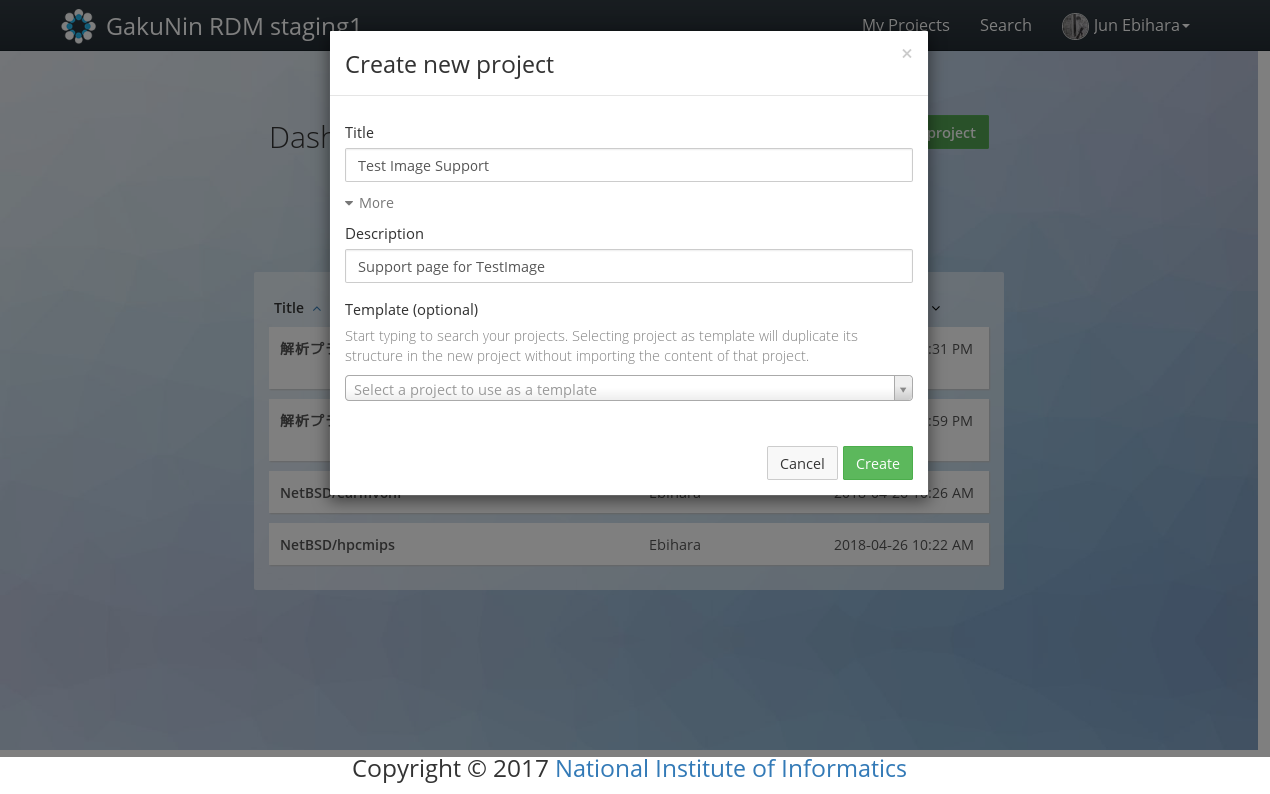
オプションでプロジェクト概要を設定できます。「More」をクリックすると「Description」欄が現れます。プロジェクト名(と概要)を設定したら、緑色の「Create」ボタンを押下します。
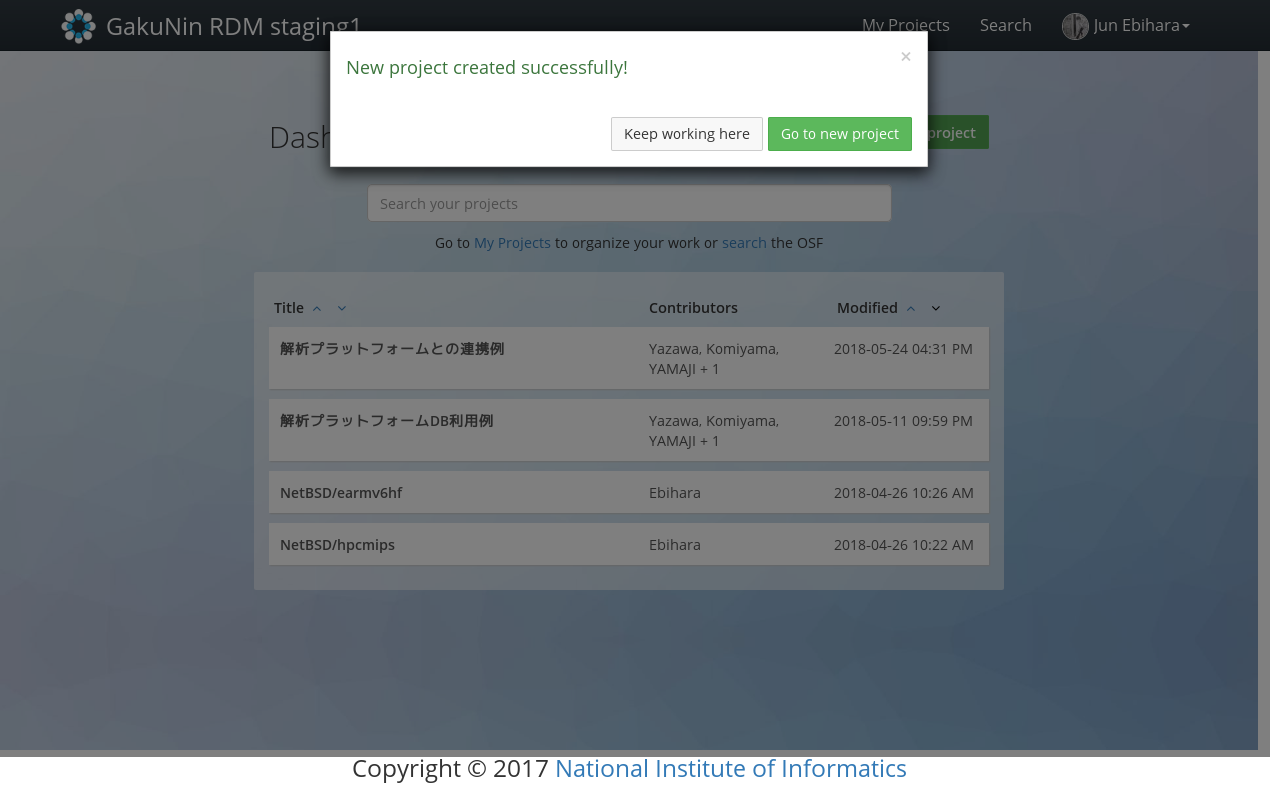
プロジェクトが作成されたこと確認するメッセージが表示されますので、緑の「Go to new project」ボタンを押下してください。
作成したプロジェクトのメイン画面へと移動します。
プロジェクト・メイン画面
プロジェクトのメイン画面からは、プロジェクト概要の表示や、Wikiの作成、ファイルアップロード、タグの追加などが可能です。

Configuring a Project Name and Description
Enter the project name in the first input field in the modal window.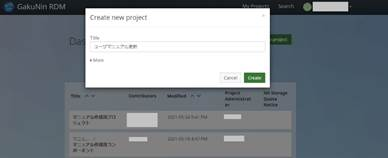
You can optionally set a description for the project you are creating. Click 'More' and the 'Description' field will appear. After setting the title and description, press the green 'Create' button.
A message will appear confirming that a project has been created. Click the green 'Go to new project' button.
You will be taken to the main screen of the created project.
Project's Main Screen
On the project's main screen, you can display the project's description, create a Wiki, upload files, add tags, etc.
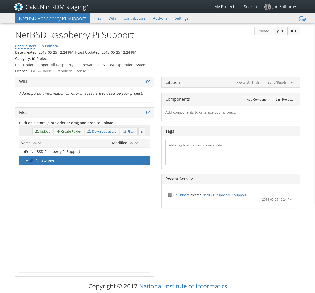
You can create a subproject called a component under the created project.
You can create/manage the project hierarchically by using components. A component has the same functionality as the project.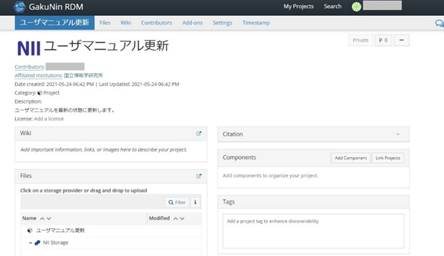
概要
コンテンツ ツール