Revision History |
Rev. | Date (YYYY/MM/DD) | Description | Editor |
V.1.0 | 2015/4/1 | First revision | NII |
V.1.1 | 2016/12/26 | Amendment with addition of [NII Open Domain S/MIME CA] as a new Certificate Authority | NII |
V.2.2 | 2018/2/26 | Addition of steps to change the language in the certificate retrieval procedure and amendment associated with the operating environment change. | NII |
| V.2.3 | 2021/10/12 | Change of issuance method by web enrollment. | NII |
Table of Content
1. Setting the Browser
Sections to follow discuss how to set up the browser prior to using this system.
1-1. Internet Explorer Settings
You have to enable JavaScript and ActiveX in [Internet options], add [https://scia.secomtrust.net] to the Trusted sites and set up the Compatibility View.
See below for the procedures for these settings.
Setting Internet Options (O) |
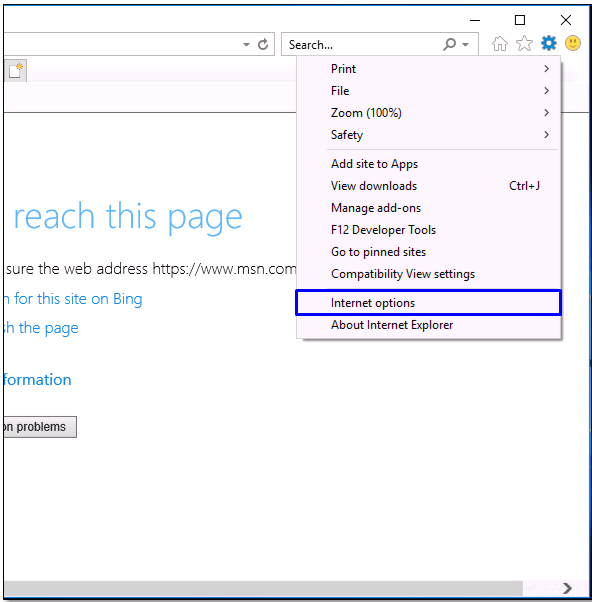
- You have to add the URL in the Trusted sites first. Open your Internet Explorer, click the [Tools] button, and then click [Internet options (O)].
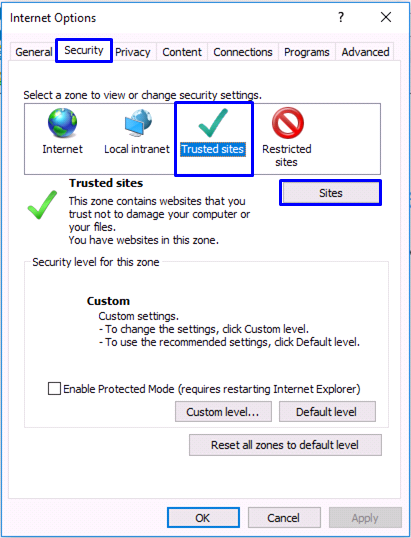
- In the [Internet options] window, select the [Security] tab and then [Trusted sites]. Click the [Sites (S)] button.
- In the Trusted sites dialog box, Enter [https://scia.secomtrust.net] in the [Add this website to the zone:] box
and click [Add (A)].https://scia.secomtrust.net
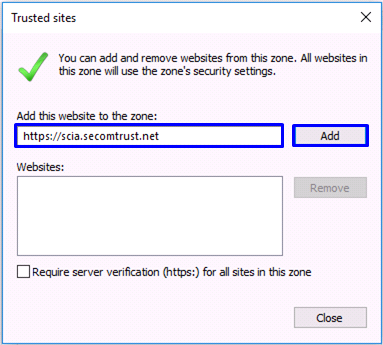
- Make sure that the entered URL now appears in the [Websites (W)] list and click [Close (C)] to finish.

This completes addition of the URL in the Trusted sites.
- You have to set up JavaScript and ActiveX next. Return to the [Internet options] window and click [Custom level (C)...].
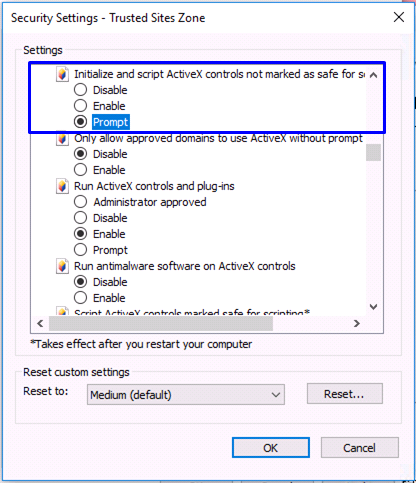
In the [Security Settings - Trusted Sites Zone] window, scroll down the Settings field
until you see [Initialize and script ActiveX controls not marked as safe for scripting].
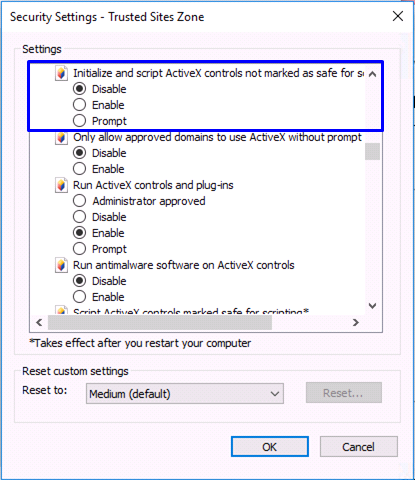
- Select [Prompt] for [Initialize and script ActiveX controls not marked as safe for scripting].
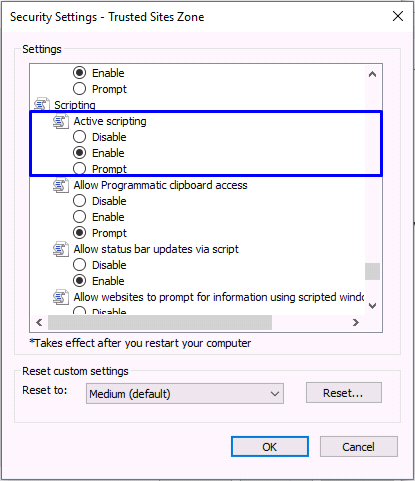
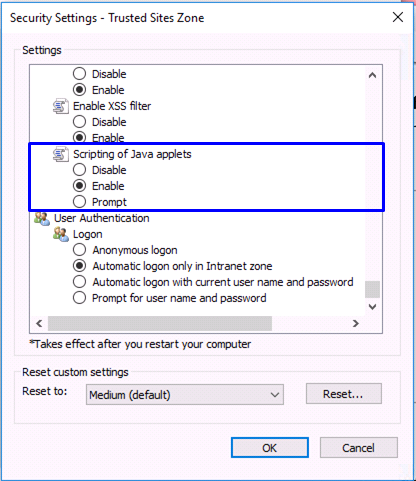
- Scroll the Settings field further down to make sure that the [Active scripting] and [Scripting of Java applets] is [Enabled] and then click [OK].
(If [Enabled] is not selected, select it and then click [OK].)
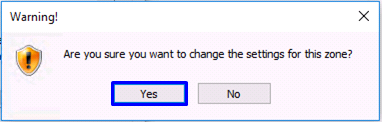
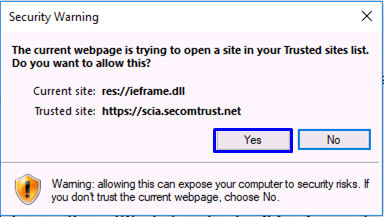
- You will get the following dialog. Click [Yes (Y)].
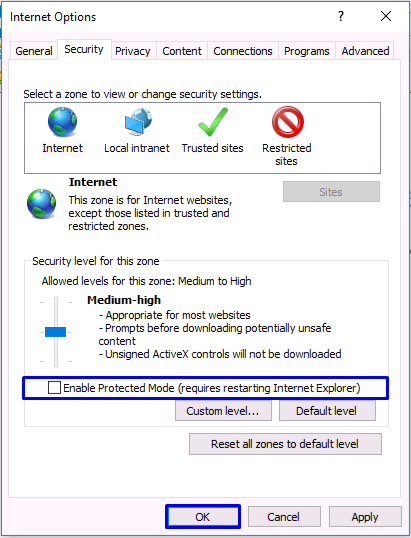
- Returning to the [Internet options] window, click [OK] to finish.
Note: If the [Enable Protected Mode] checkbox is checked, uncheck it.
This completes the JavaScript and ActiveX settings.
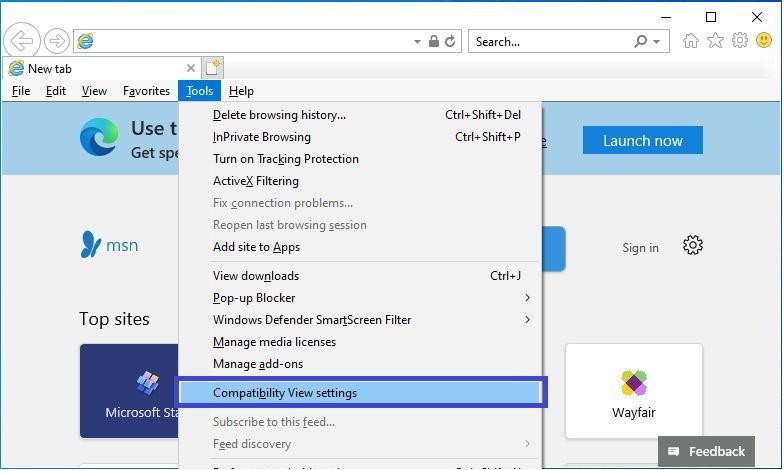
- You now have to set up the Compatibility View settings. Click the [Tools] button, and then click [Compatibility View settings].
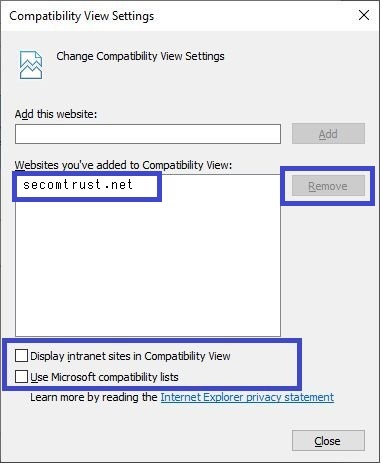
- If "secomtrust.net" is included in "Websites you've added to Compatibility View", click [Remove].
Uncheck [Display intranet sites in Compatibility View] and [Use Microsoft Compatibility Lists] if they are checked, and then click [Close].
This completes the Compatibility View settings.
If the compatibility view is set, the error message "SPKAC analysis failed." will be displayed when the certificate is issued.
|
2. Retrieving the Certificate
2-1. Prerequisites
The prerequisites for retrieving the Certificate are described. Replace the technical terms according to the user environment in which the Certificate will be retrieved.
(The procedures required for Microsoft Internet Explorer 11 are described in this document.)
Prerequisites |
- You have the Access PIN issued by the certificate use administrator;
- you have received the e-mail designating the certificate retrieval URL; and
- Microsoft Internet Explorer is installed.
|
2-2. Certificate Retrieval
2-2-1. Notification of URL for the Certificate Retrieval
Once you complete the certificate application, you will receive the e-mail from this system that notifies the certificate retrieval URL for the certificate download.
Access the certificate URL in the e-mail message and retrieve the certificate.
Notification of URL for the Certificate Retrieval |
[Title]
client certificate issue acceptance notice
snip
# Please find below the URL for the requested certificate retrieval.
Please download a client certificate accessing the following certificate acquisition URL.
Please correctly enter access PIN acquired at 1) for request of entering access PIN accessing the certificate acquisition URL.
The download of a certificate is going to start as the authentication by the access PIN is completed. certificate acquisition URL:https://scia.secomtrust.net/~*(https://scia.secomtrust.net/~) + <- Access this URL to retrieve the Certificate.
snip |
2-2-2. Retrieving the Certificate Using Internet Explorer
Retrieving the Certificate using [Internet Explorer] is described.
Process of Issuing the Certificate Using Internet Explorer |
 By specifying the web browser used for this system as the [Default] web browser, failure of the client authentication (including access failures) should be prevented. By specifying the web browser used for this system as the [Default] web browser, failure of the client authentication (including access failures) should be prevented.
In this document, setting up the following prior to retrieving the certificate is recommended.
Select [Settings} in the Windows Menu, and after getting the Settings window,
make sure that Internet Explorer is specified as [Apps] > [Default apps] > [Web browser].
If not, specify [Internet Explorer]
. 


- To retrieve the certificate using Internet Explorer, changing ActiveX controls in advance is required. For the details, see [1-1 Internet Explorer Settings].
- According to the instruction in [2-2-1. Notification of URL for the Certificate Retrieval], access the certificate retrieval URL provided in the e-mail.
If the following dialog box pops up, make sure that [https://scia.secomtrust.net] is specified in the Trusted sites and click [Yes].https://scia.secomtrust.net
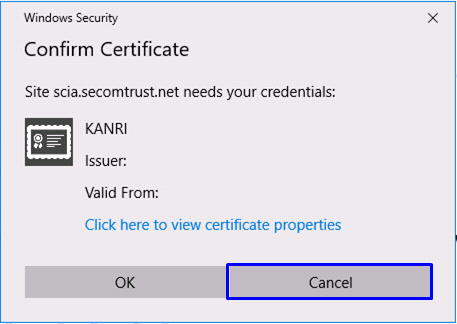
<<Getting the Windows Security dialog box instead?>>
If the selection dialog box of certificate pops up, click [Cancel].
- In the password prompt, enter the Access PIN you have received.
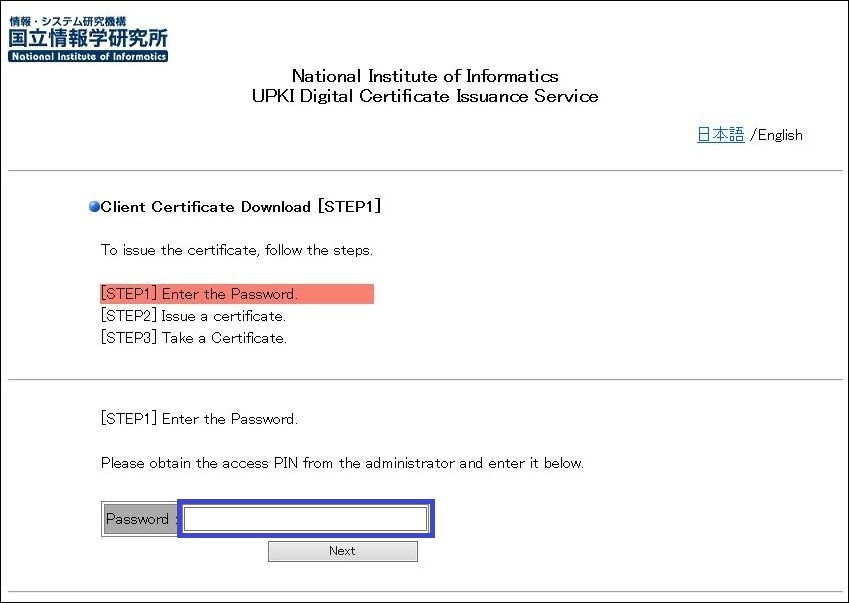
- To change the language, click the link in the upper right corner.
Clicking [日本語] changes the language to Japanese.
Clicking [English] changes the language to English.
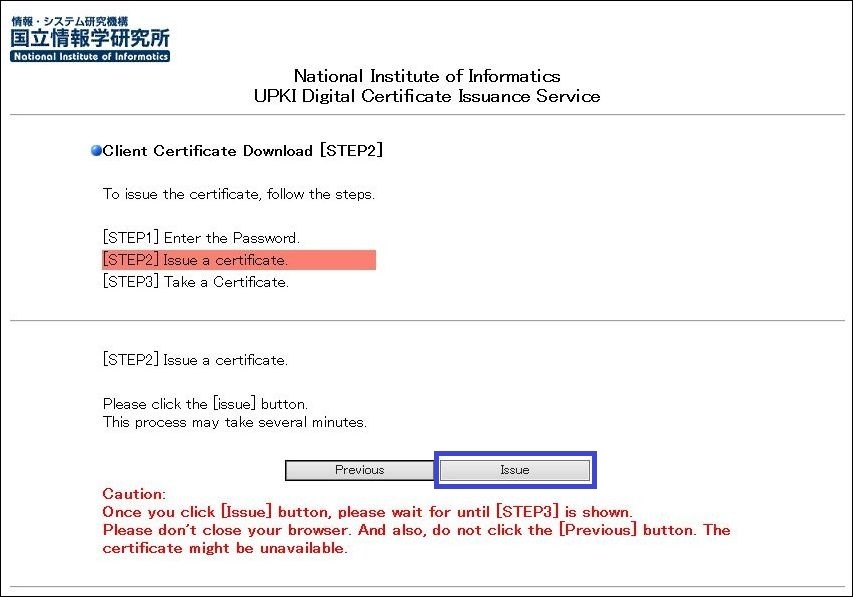
- Now, the screen changes to the [Issue a Certificate] screen, make sure that the certificate is actually downloaded.
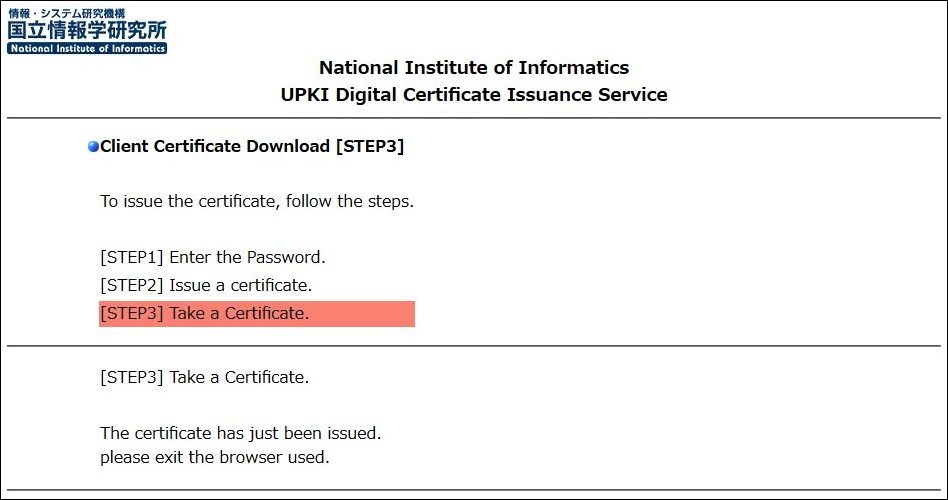
- After the certificate is successfully issued, select "Save".

- If the certificate is successfully issued, the certificate will start downloading.
When the download is complete, click the "X" button on your browser to close the browser.
In order to import the downloaded P12 file, please refer to the Please refer to the manual below to import it.
It is recommended that you back up this file. However, please handle it with care. Internet Explorer/ Edge/ Chrome/ Opera (Windows) Edition
Checking the existence of the certificate
To check if the certificate import is complete, refer to the following manual. Checking Existence of the Certificate Using Internet Explorer
|