このサイトは https://support.rdm.nii.ac.jp/![]() へ移転しました。
へ移転しました。
Adding External Storages
You can synchronise a project with an external service and configure the settings for linking with the external service from GakuNin RDM.
Click 'Add-ons' in the navigation bar at the top of the project's main screen to move to 'Select Add-ons'.
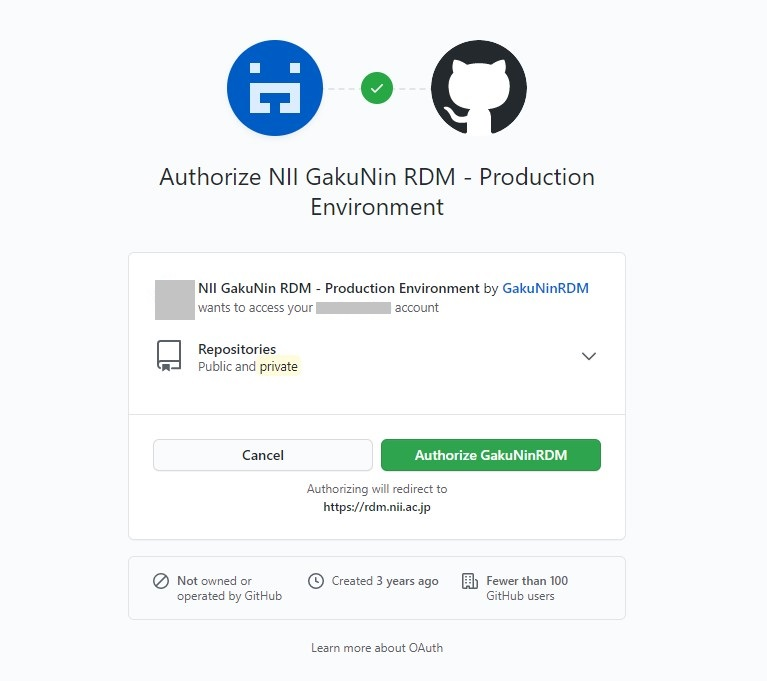
Set the external storage service you wish to link to 'Enable'.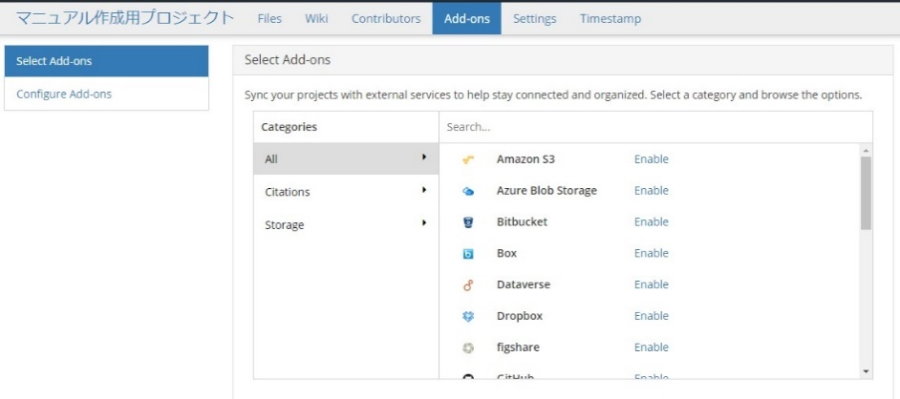
A modal window (child window) showing notes will be displayed.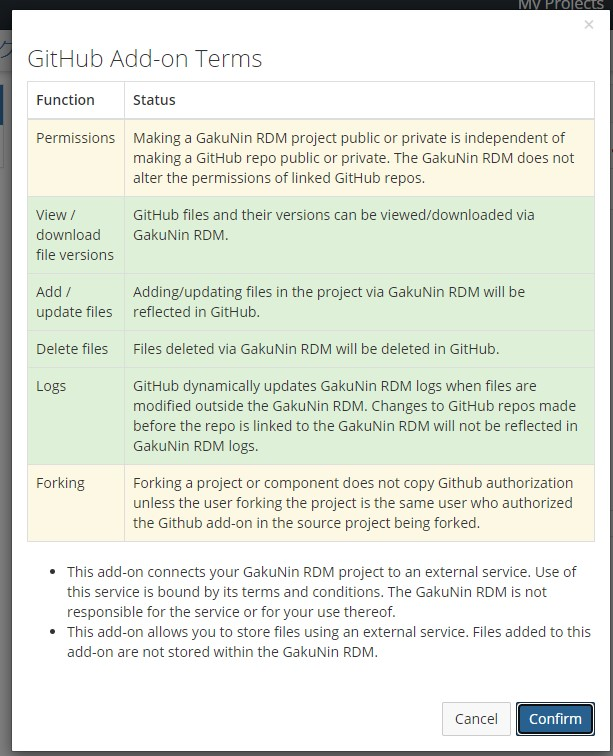
After confirming the contents and clicking the 'Confirm' button, the 'Configure Add-ons' field will appear under the 'Select Add-ons' field listing the selected service names.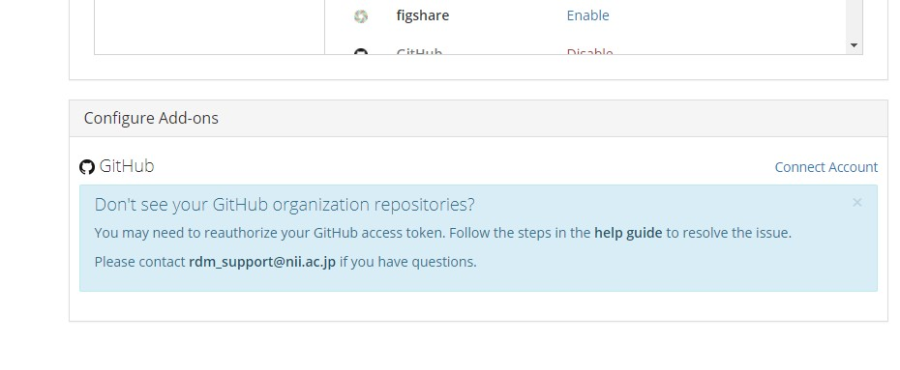
When you click 'Configure Add-ons' next to the service name you wish to link, a modal window (child window) will apear confirming the link to the service.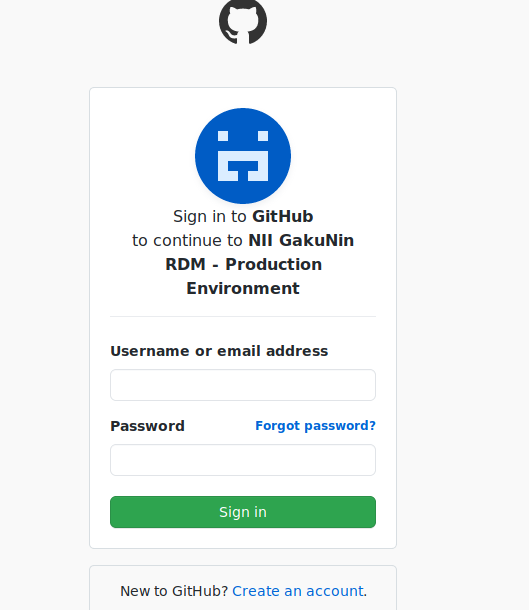
When you click the 'Import' button, the folder tree of the linked external storage will be displayed.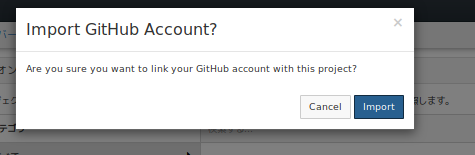
You can link for each folder. Select the folder name to be linked and click the 'Save' button next to the folder name.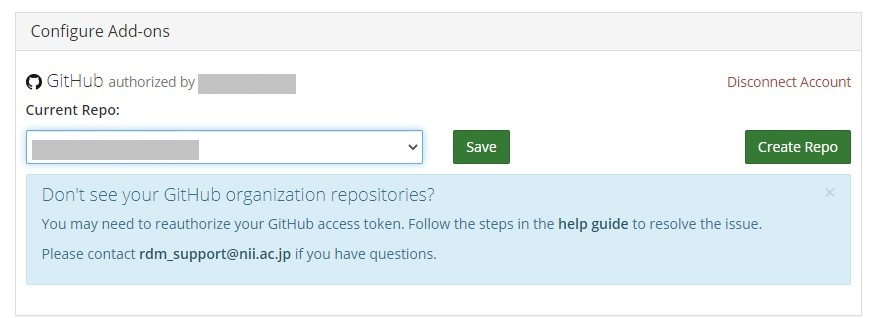
When you return to the project's main screen, the linked external storage folder will be added to the 'Files' tree.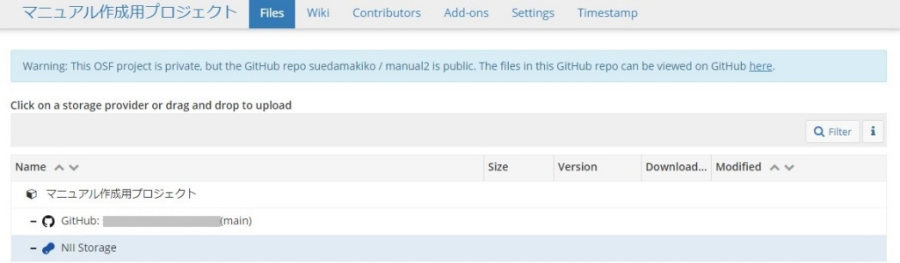
Adding Storage Add-ons and Configuration
- Amazon S3
- Azure Blob Storage
- Bitbucket
- Box
- Dataverse
- Dropbox
- figshare
- GitHub
- GitLab
- Google Drive
- IQB-RIMS
- Mendeley
- Nextcloud
- NII Storage
- OneDrive
- OpenStack Swift
- ownCloud
- S3 Compatible Storage
Zotero
Storage Name
Maximum Size per File
NII Storage
5GB
Amazon S3
128MB
Azure Blob Storage
128MB
Box
250MB
Bitbucket
(read-only)
Dataverse
Dropbox
150MB
figshare
50MB
GitHub
100MB
GitLab
(read-only)
Google Drive
5GB
Nextcloud
3GB
One Drive
(read-only)
ownCloud
3GB
S3 Compatible Storage
128MB
OpenStack Swift
128MB
Dropbox add-on
How to link shared folders
After linking with your Dropbox account;
'Add-ons' → 'Configure Add-ons' → Select Dropbox and 'Change' → 'Select' a folder →
Connect other folders in Dropbox by clicking 'Save'.
Then, access Dropbox's web interface.
Right-click on the folder/file you wish to share. When you click the 'Share' button on the right, the list of users sharing folders/files will be displayed.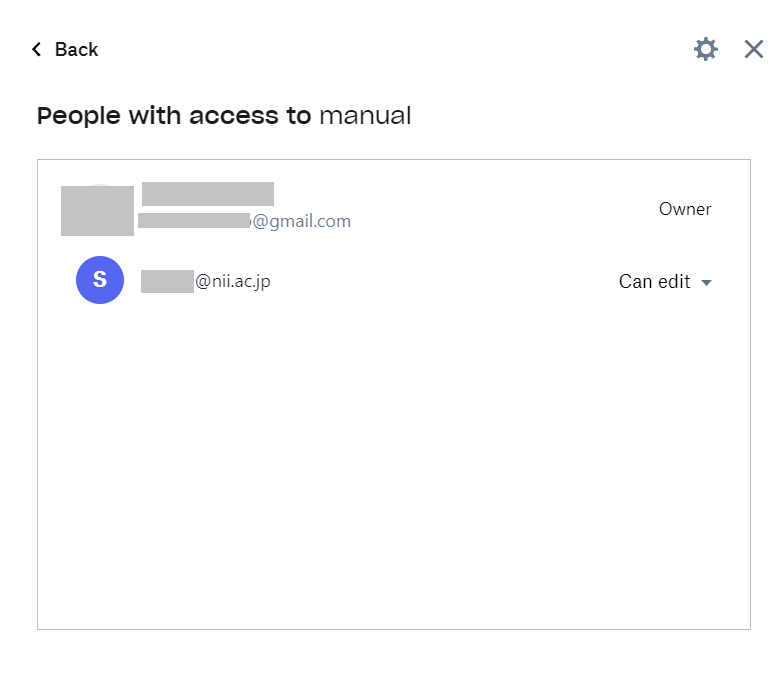
To share the file, enter the email address/name of the user you wish to share in the destination field and click the 'Share file' button.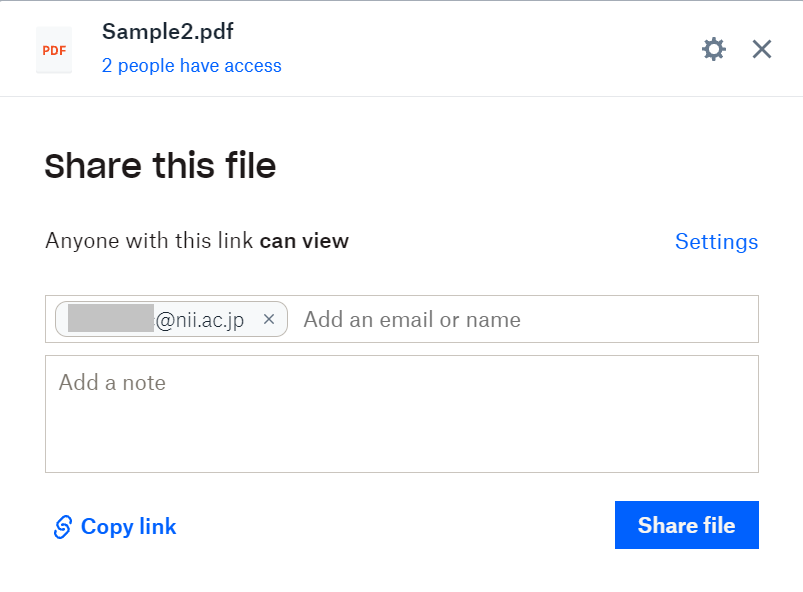
File's change history on Dropbox
When you click the 'Revisions' button that appears when you access each file, the change history that you are currently managing will be displayed.
This change history is acquired via the Dropbox API.
The change time will be displayed, but the person who made the change will not be displayed. For the details about the change history, please refer to the file change history on the Dropbox side.
概要
コンテンツ ツール