このサイトは https://support.rdm.nii.ac.jp/![]() へ移転しました。
へ移転しました。
Creating a Project
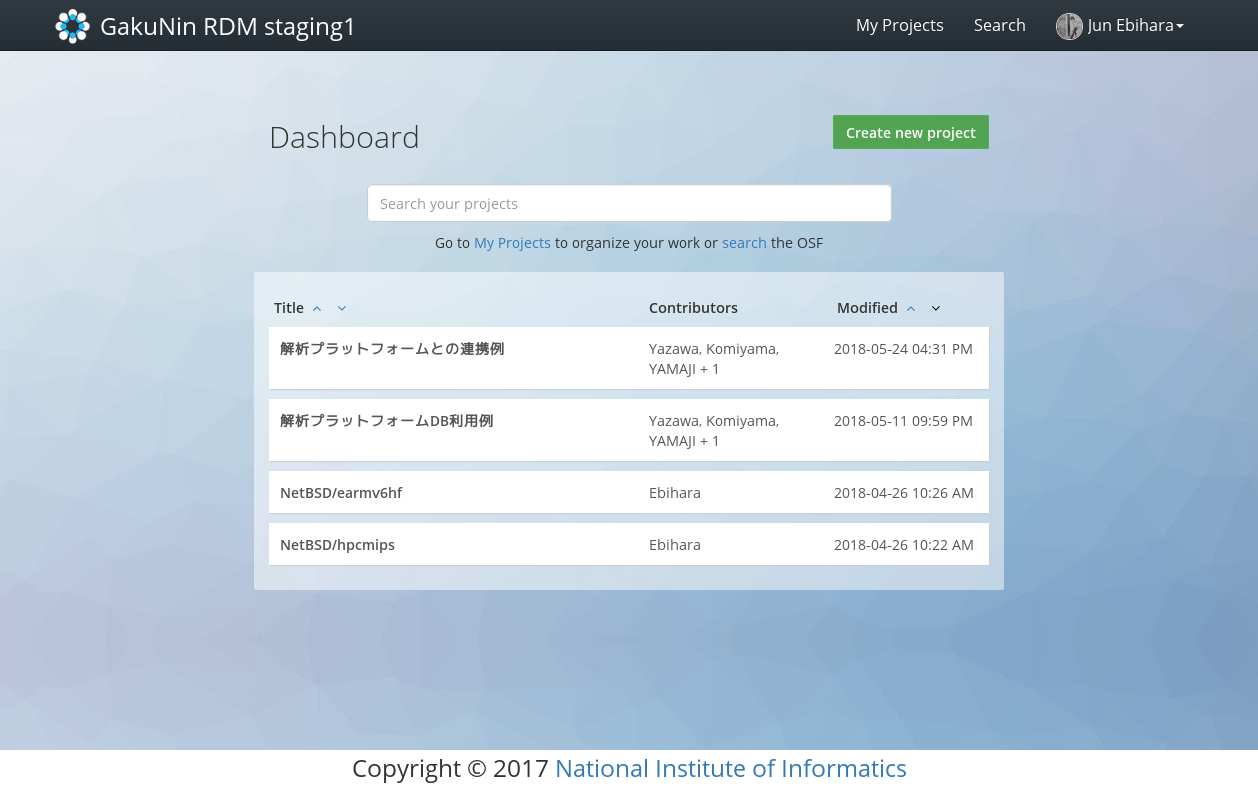
When you sign-in to GakuNin RDM, a dashboard will appear. On the dashboard, it displays the projects and components that have been created to date.
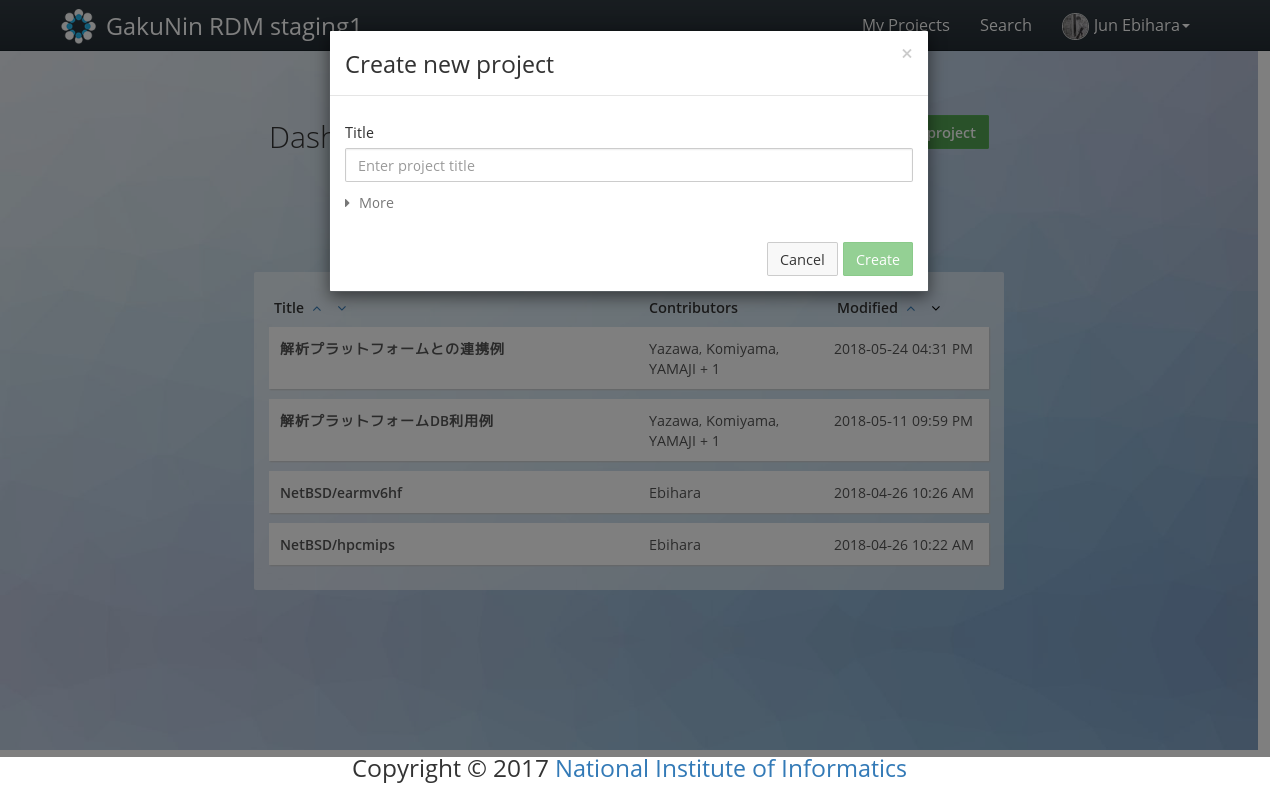
By holding down ‘Create new project’ button in the upper right corner of the dashboard, a modal window will appear.
Configuring a Project Name and Description
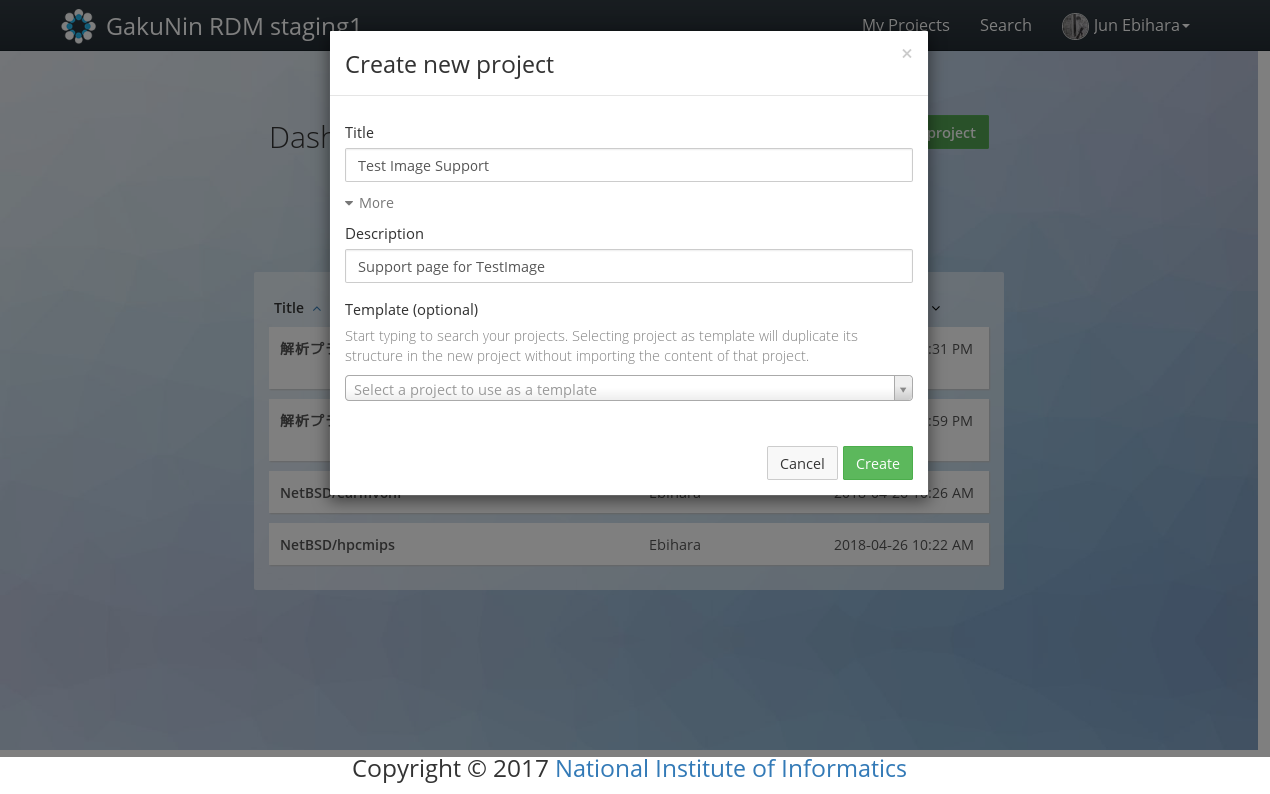
Enter the project name in the first entry field on the modal window.
You can configure the project’s description as an option. By clicking ‘More’, the ‘Description’ field will appear. When you configure the project name (and description), hold down the green ‘Create’ button.
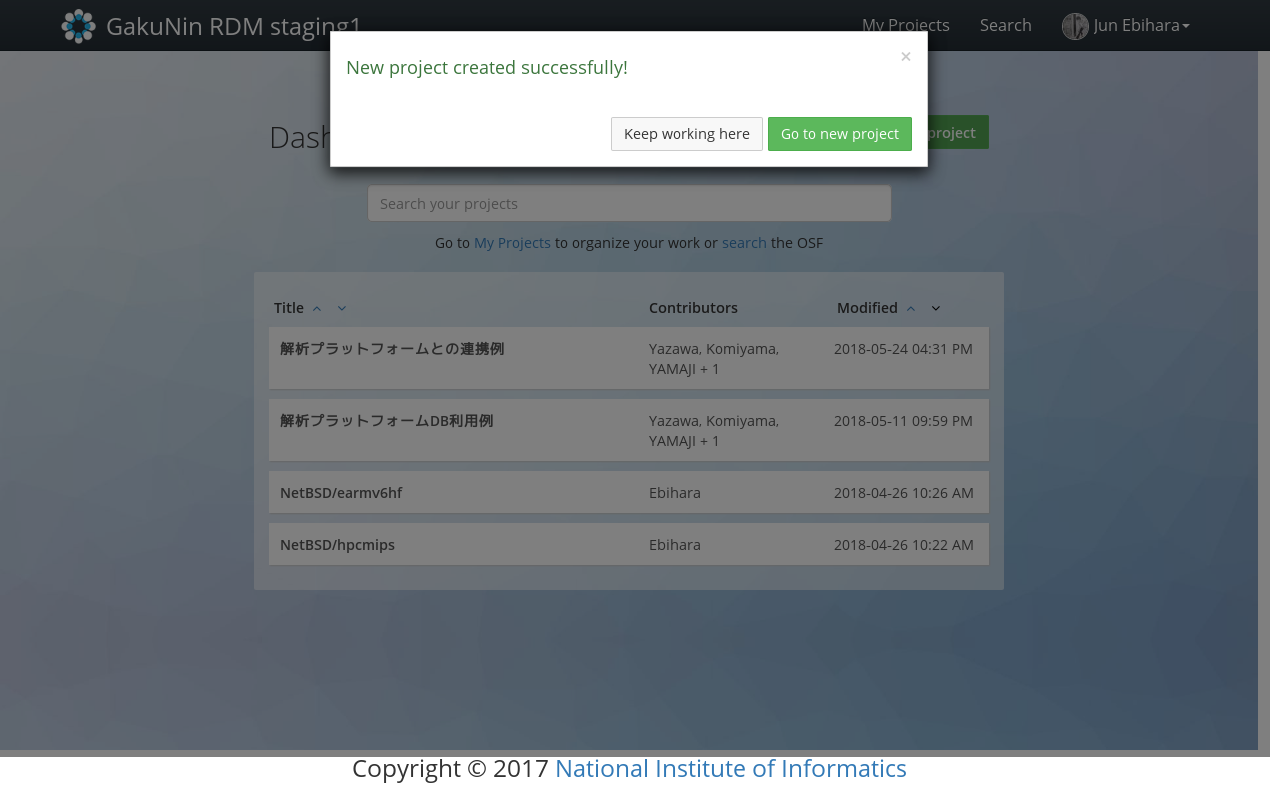
A message will appear confirming that a project has been created; then, hold down the green ‘Go to new project’ button.
It will take you to the project’s main screen that has been created.
Project’s Main Screen
On a project’s main screen, you can display the project’s description, create a wiki, upload a file, add a tag, etc.
