このサイトは https://support.rdm.nii.ac.jp/![]() へ移転しました。
へ移転しました。
Using the Timestamp Function
You can use the timestamp function to prove that the data file has not been tampered with or edited since it was created.
The timestamp function is used to verify that the registered file has not been tampered with or edited.
A timestamp will be added when a file is created on an institutional storage via GRDM.
If you directly change the file in the external storage externally, the timestamp may not be added. Currently, if you are using Dropbox Business and Nextcloud for Institutions as institutional storage and setting to receive file update notifications from the external storage to the GakuNin RDM, you can add a timestamp even if you directly change it externally.
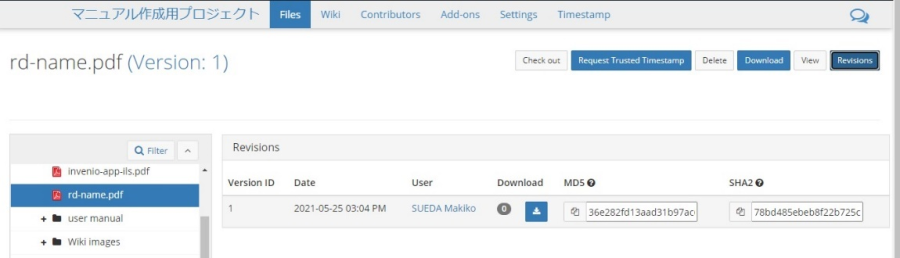
Verification by Displaying a File's Checksum
Select a file from the file browser and click the version control button to display the update information of the file.
When you upload a file to GRDM, the waterbutler calculates the MD5/SHA2 at the time it is received and stores the MD5/SHA2 value in the database. This value will not change from the time it is calculated. Even if the file is tampered with in the process of publishing it to the outside, the MD5/SHA2 checksum at the time of receiving it at GRDM is saved. So, by comparing the checksums, you can check which version matches/does not match with.
Verification by Timestamp Function
The timestamp is calculated with SHA-512. It is downloaded and calculated every time the file is updated, and the file screen is opened.
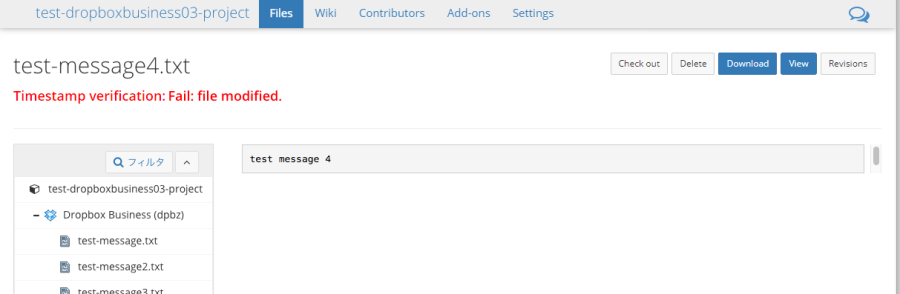
Failed Timestamp Verification
If the timestamp verification fails, the error message 'Fail: file modified.' will be displayed.
Successful Timestamp Verification
The timestamp verification is normally successful; no error message will be displayed.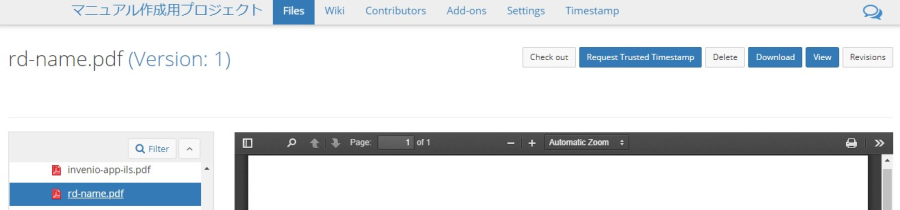
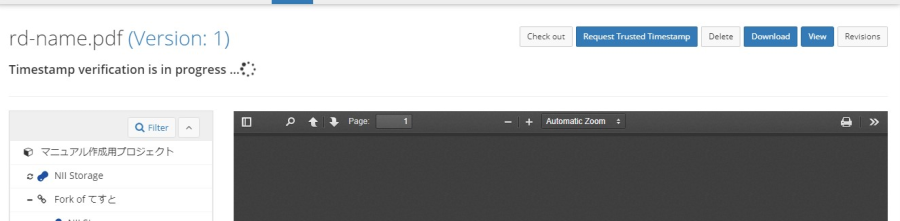
Display during the timestamp verification
During the timestamp verification, the 'Timestamp verification is in progress' message will be displayed.
Adding a Timestamp of a Registered File
If a project administrator wishes to add a timestamp, the procedure is as described as below:
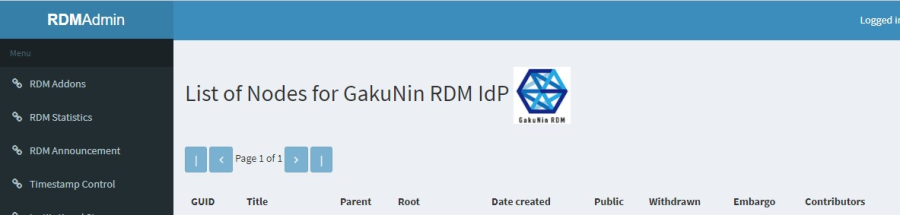
1. Select 'Timestamp Control' in the sidebar on the 'RDM Admin' screen.
The 'List of Nodes' screen will be displayed.
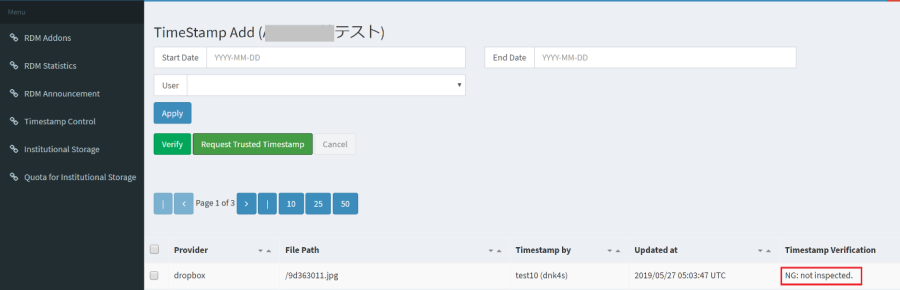
2. Click the project for which you wish to verify the timestamp.
The 'TimeStamp Add' screen will be displayed. For files to which a timestamp is not added, 'Fail: not inspected.' will be displayed in the 'Timestamp Verification' column.
Please refer to the next section 'Adding a Timestamp to a Registered File' and add a timestamp.
Adding a Timestamp to a Registered File
This section explains how to add a timestamp to a registered file.
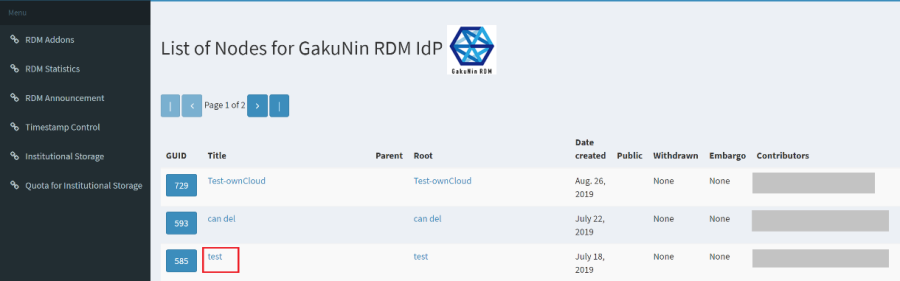
1. Select 'Timestamp Control' in the sidebar on the 'RDM Admin' screen. The 'List of Nodes' screen will be displayed.
2. Click the project to which you wish to add a timestamp.
The 'TimeStamp Add' screen will be displayed.
3. Check the checkbox of the file to which you wish to add a timestamp and click the [Request Trusted Timestamp] button.
A timestamp will be added to the file for which the check box is checked.
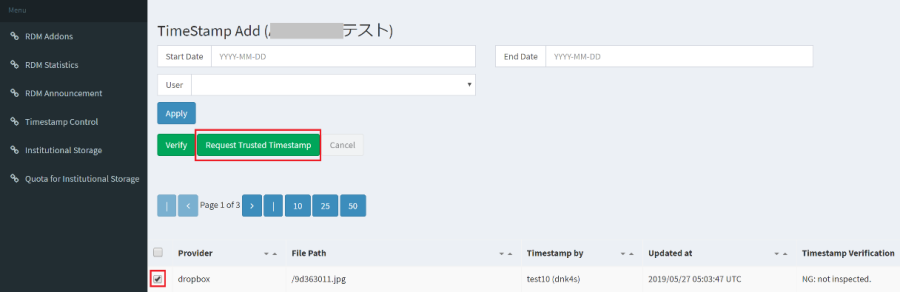
A timestamp will be added to the file for which the check box is checked. When the timestamp is added successfully, the file will disappear from the 'TimeStamp Add' screen.
概要
コンテンツ ツール