このサイトは https://support.rdm.nii.ac.jp/![]() へ移転しました。
へ移転しました。
ページ履歴
When you fork (copy) a project, a copy of the existing project and its components will be copied. A fork always forms a succession history related back to the original project. created.
The forked project keeps track of which project it was forked from.
For example, when a lecturer professor creates an OSF a project that includes student assignments for students, each student can create a fork of the project in order for them to work on their owntheir own work.
Each student adds their own answers to the assignments set within the professor's project at the time the fork was created.
As the professor's project and each student's project are all independent, changes to the forked project will not be reflected in the original project.
Also, changes to the professor's project will not be reflected in the student's project.
Note: When you create a fork of other user’s another user's project, you will only get the copies of those components which that are openly available shared or of which you are a contributor are copied. The private Private components will not be copied.
A
...
Project's Fork (Copy)
By clicking ‘Forks’ small button on a header of project’s main screen, it will take you to the fork management screen.
By holding down the green ‘New Fork’ button on the upper right corner of the screen, the modal screen for confirmation will appear.
Click the ‘Fork’ button in the modal window.
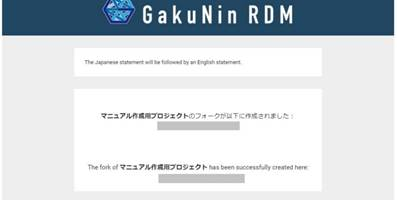
An email will be sent to a registered email address containing the URL of the forked project. From the URL on the email message, move to the forked project.
The forked project is Click the fork icon on the project's main screen.
You can select either 'Fork this Project', 'Duplicate template' or 'View Forks'.
Click 'Fork this Project'.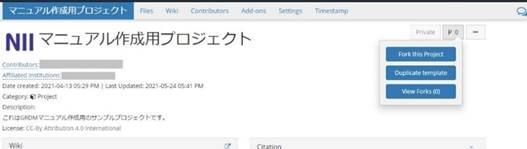
A screen will appear asking if you wish to fork the project. Select 'Fork'.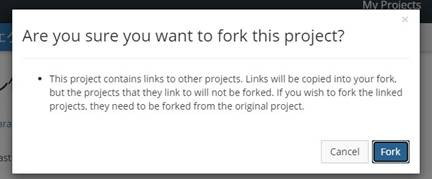
An email will be sent with the URL to the newly forked project. Click the URL in the email to go to the forked project.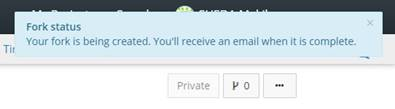
Forked projects are set to be private by default. You can change the privacy publishing settings later.
On the main screen of a forked project, the you will see a link to the original project will be displayed under the project’s project name.
The default name of for a forked fork project is ‘Fork 'Fork of <the (the original project name>’name)'. This name can be changed just like a normal project.
A
...
Component's Fork (Copy)
A project can have subprojects called components.
If you wish to change only the components of a project rather than the whole If there is a project that is linked to a certain project, you can fork the linked project directly from the ‘Components’ paneonly the components.
From the ‘Components’ pane on a project’s 'Components' section of the project's main screen, select and hold down click the fork icon next to the title name of a the linked project.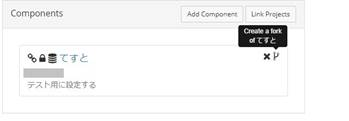
A modal window will appear confirming whether asking if you wish to fork the project or not. By holding down the ‘Fork’ button within the window, you can Click the 'Fork' button in the window to create a forked project.
You can either Click 'Keep working here' to stay on the project’s page by clicking ‘Keep Working Here’project, or move click 'Go to a new fork by clicking ‘Go to New Fork’.' to go to the new fork.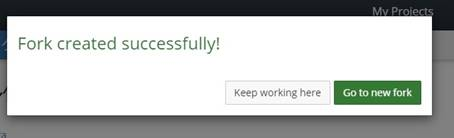
概要
コンテンツ ツール